Broadcast
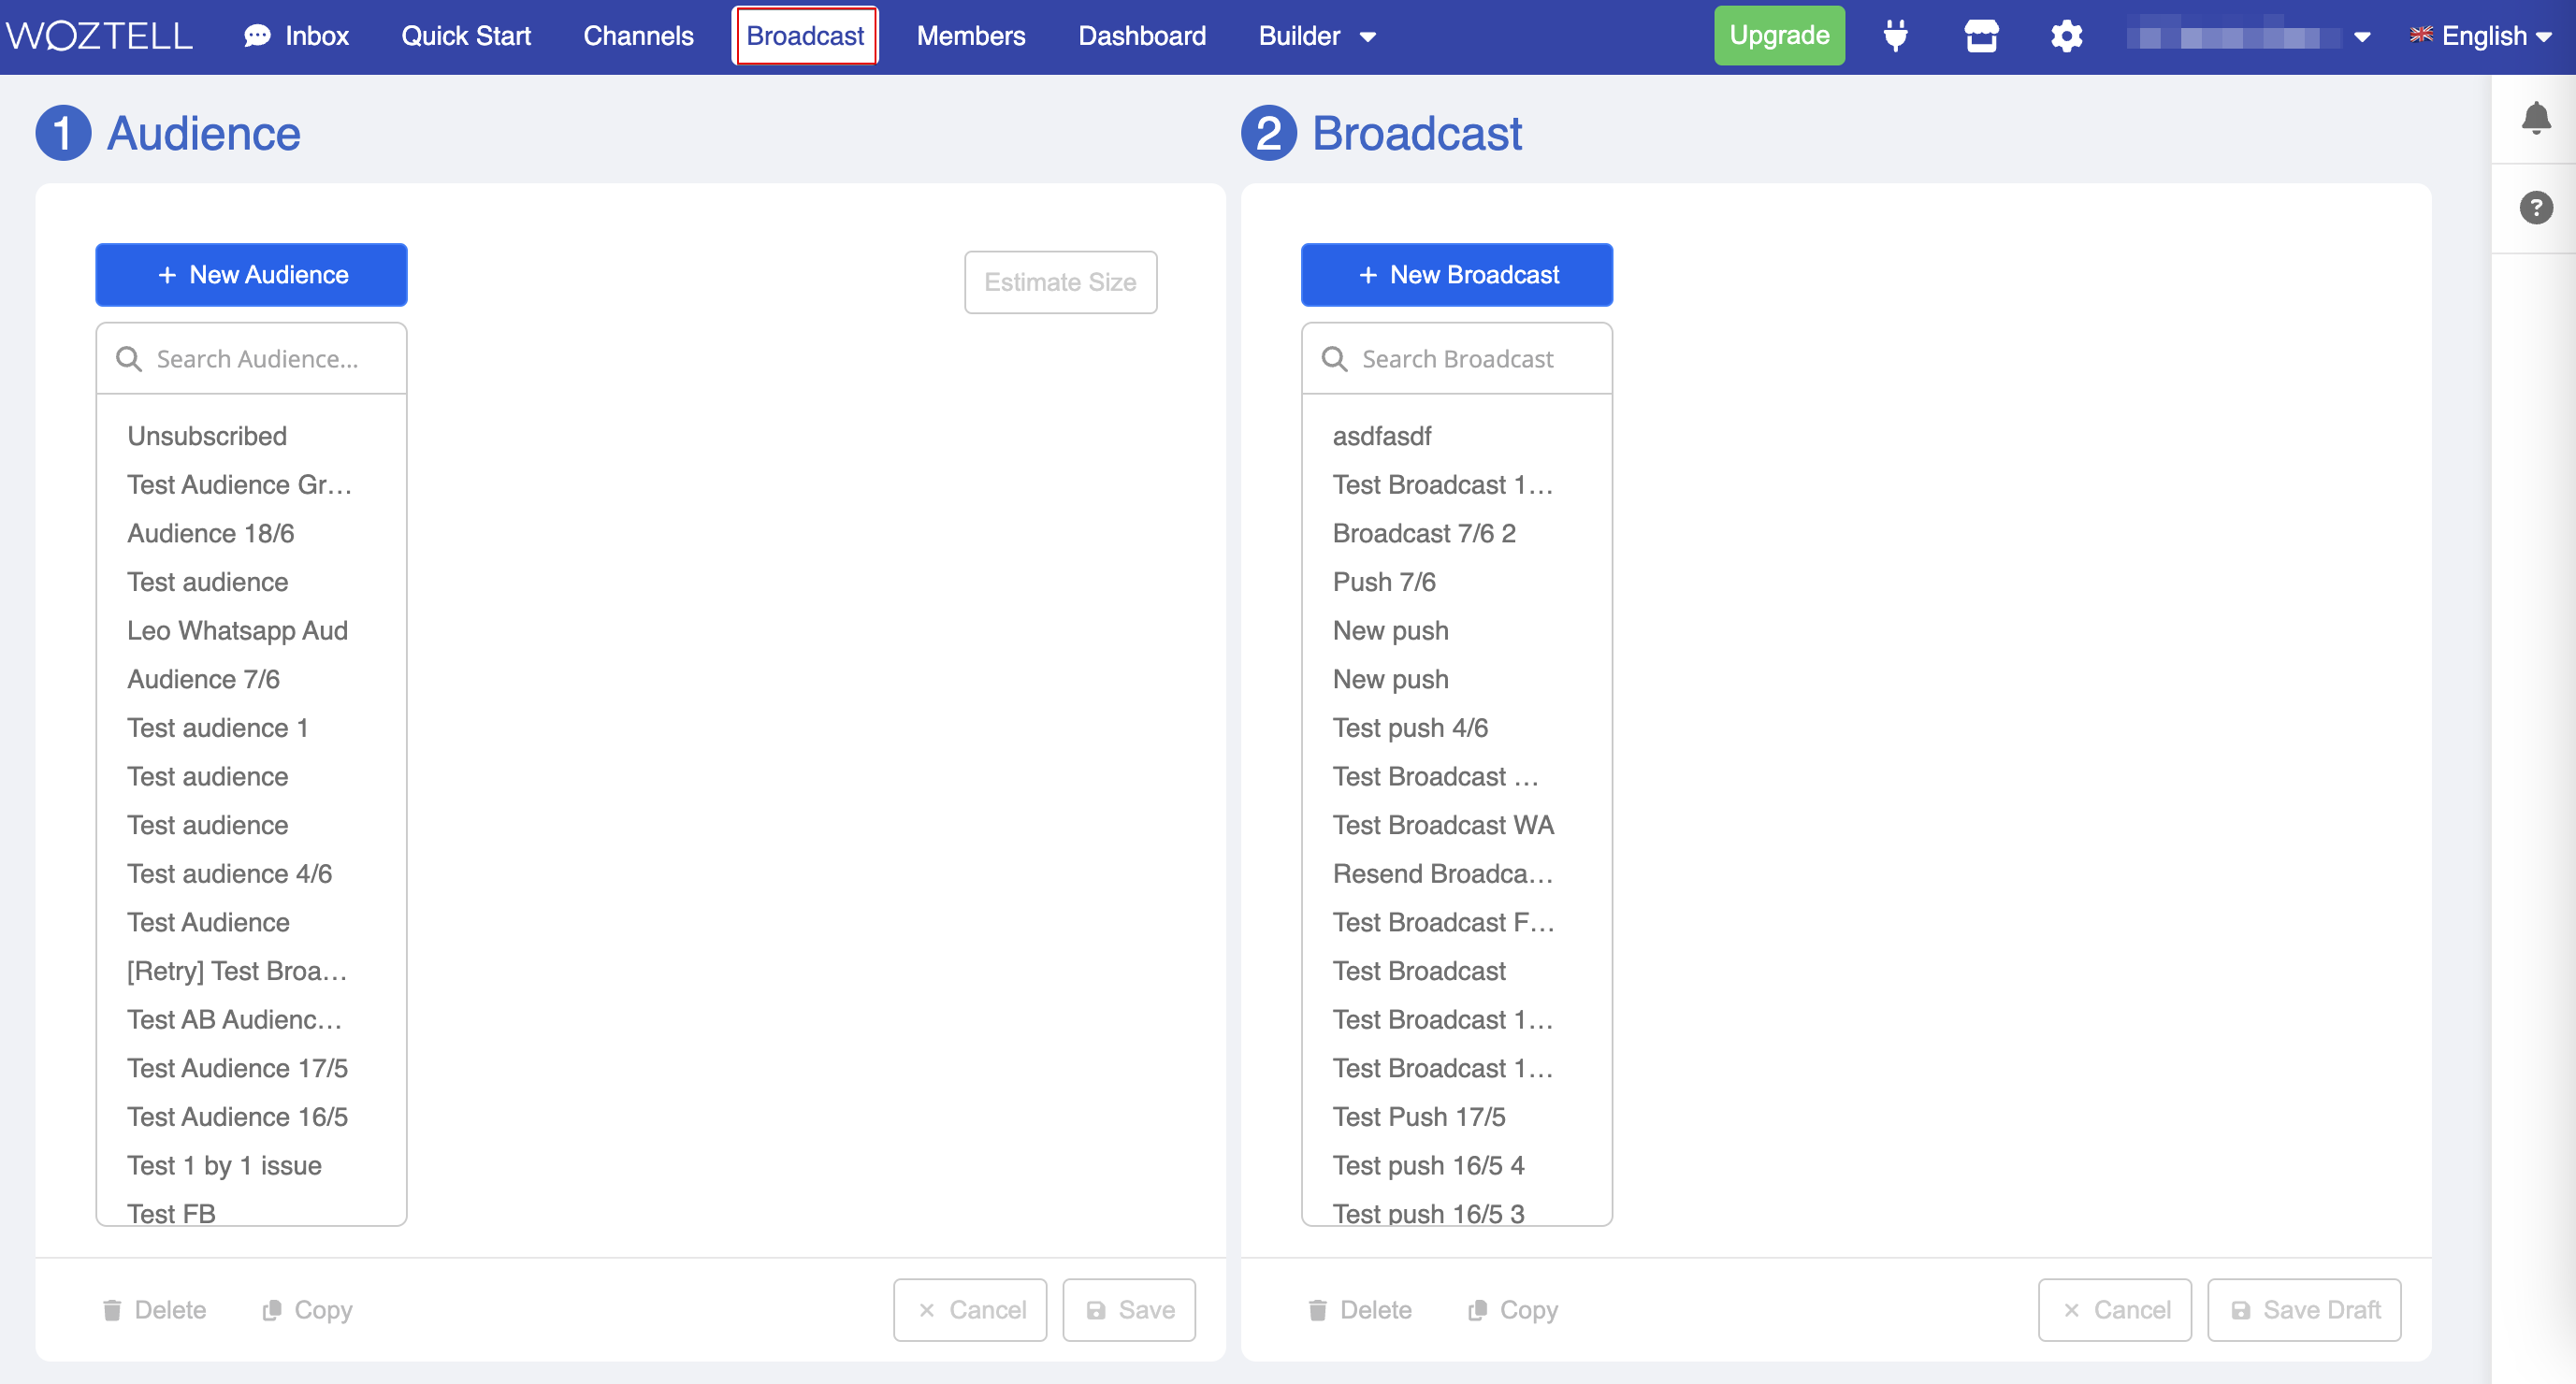
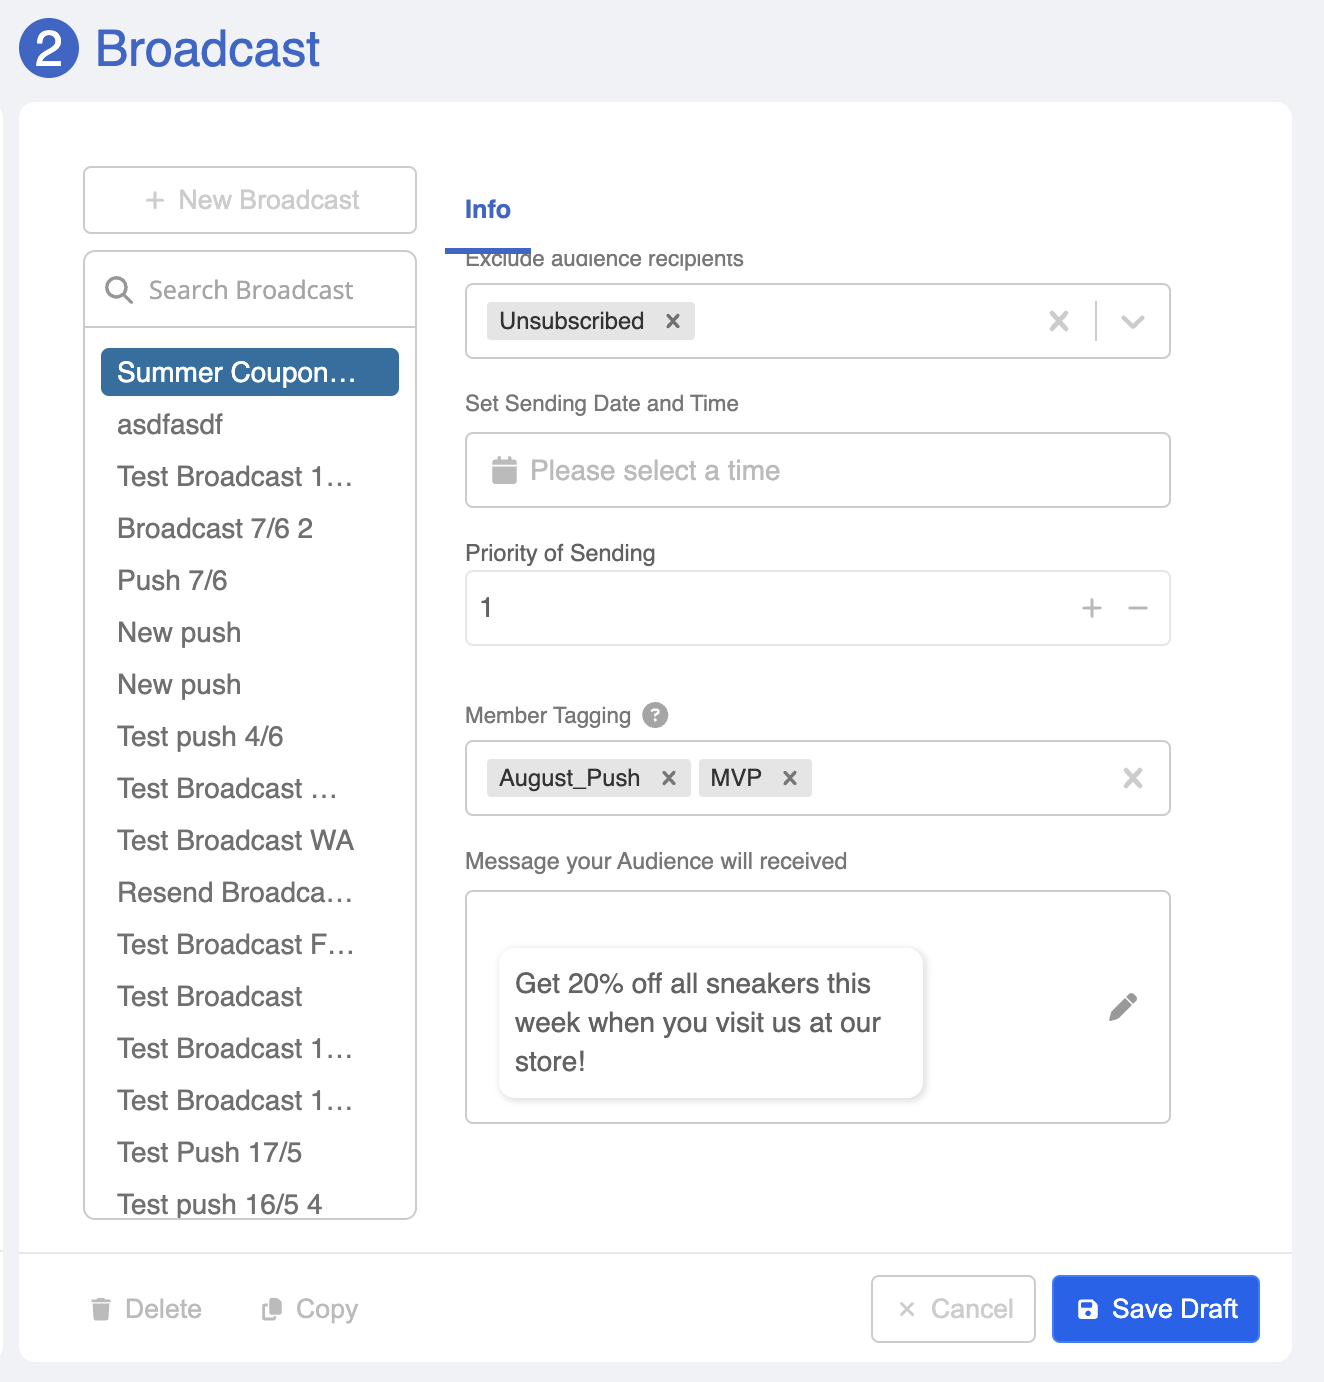
After creating the audience group, you can proceed to prepare for the broadcast. At the right side of broadcast panel, you can create a broadcast and formulate the content. Eventually, schedule the sending time and you are good to go!
Create a Broadcast
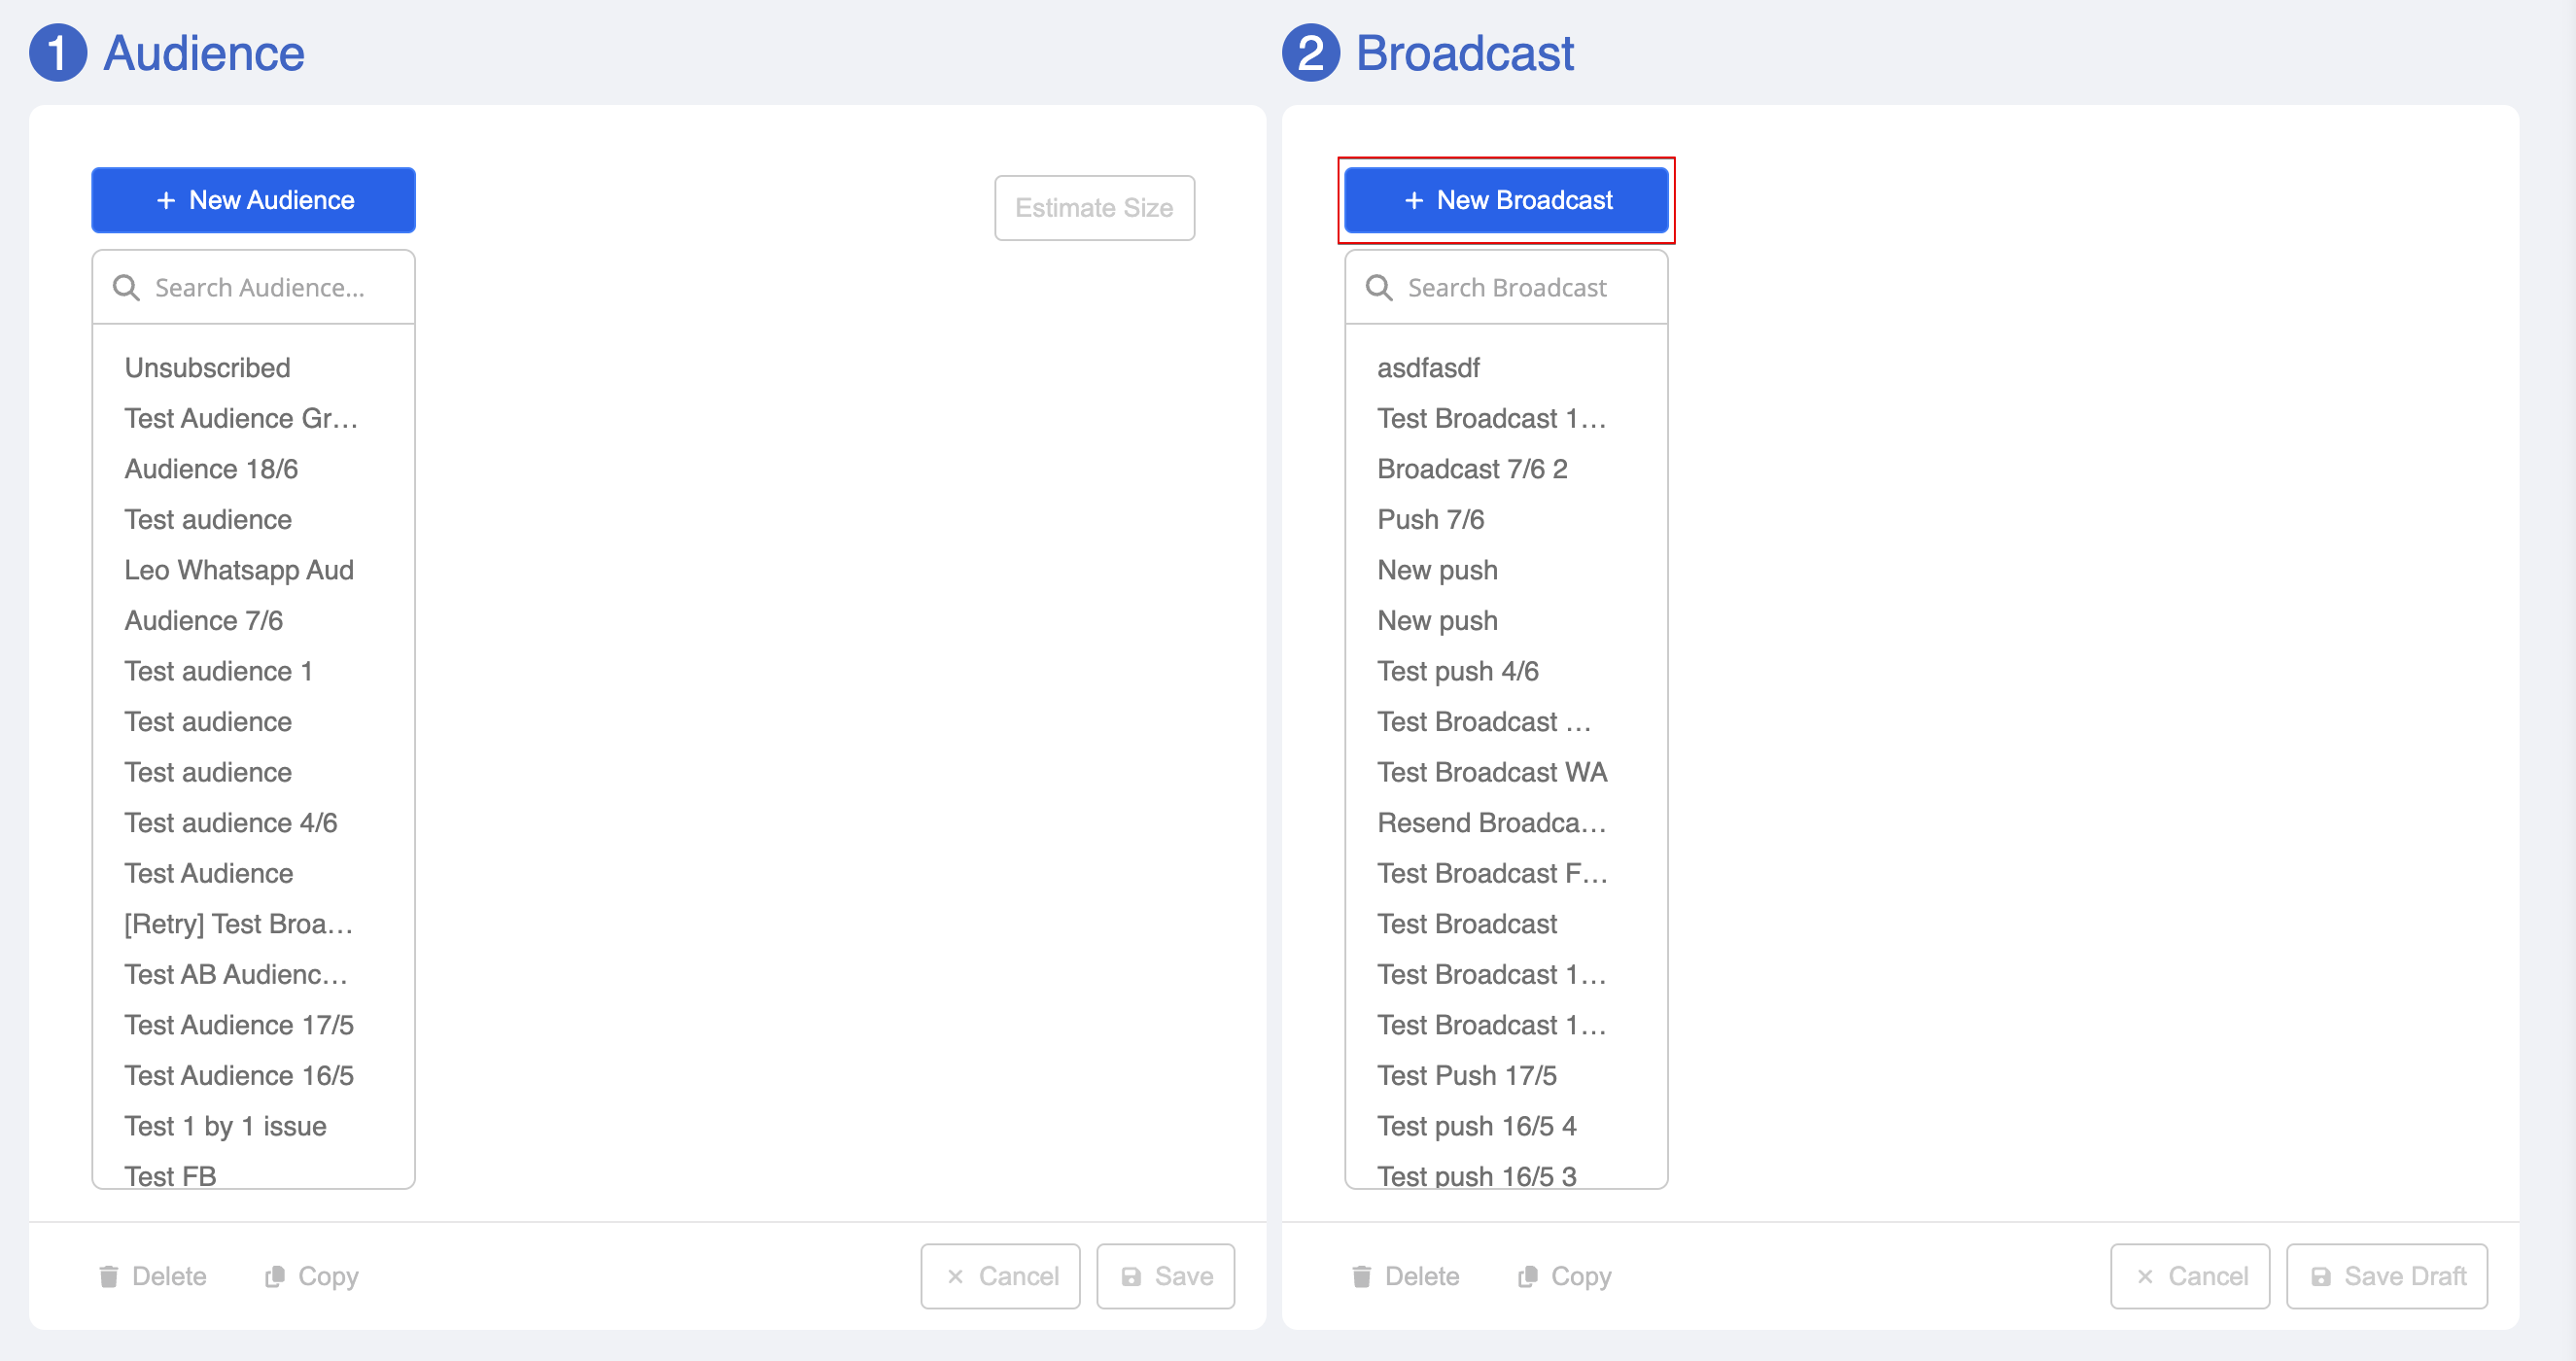
- Select "+ New Broadcast" to create a new broadcast.
Name & Description
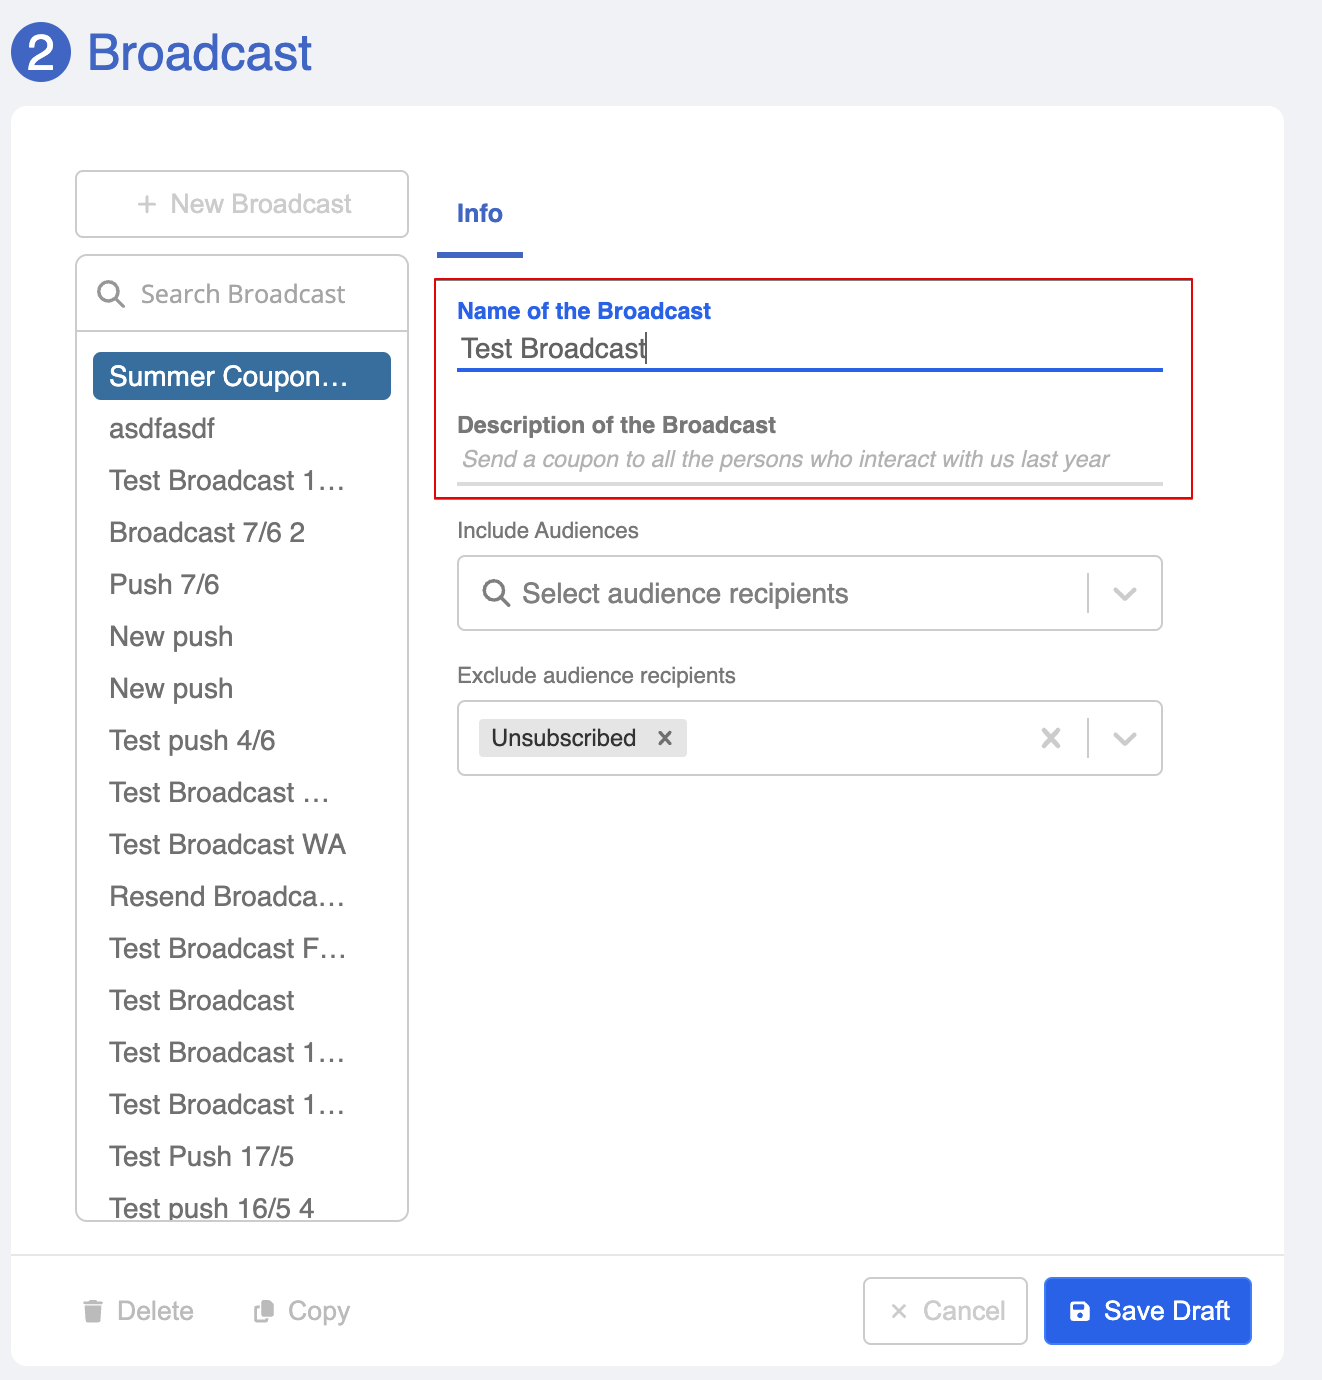
- Name to your broadcast message. The "Description" is not compulsory.
Include Audiences
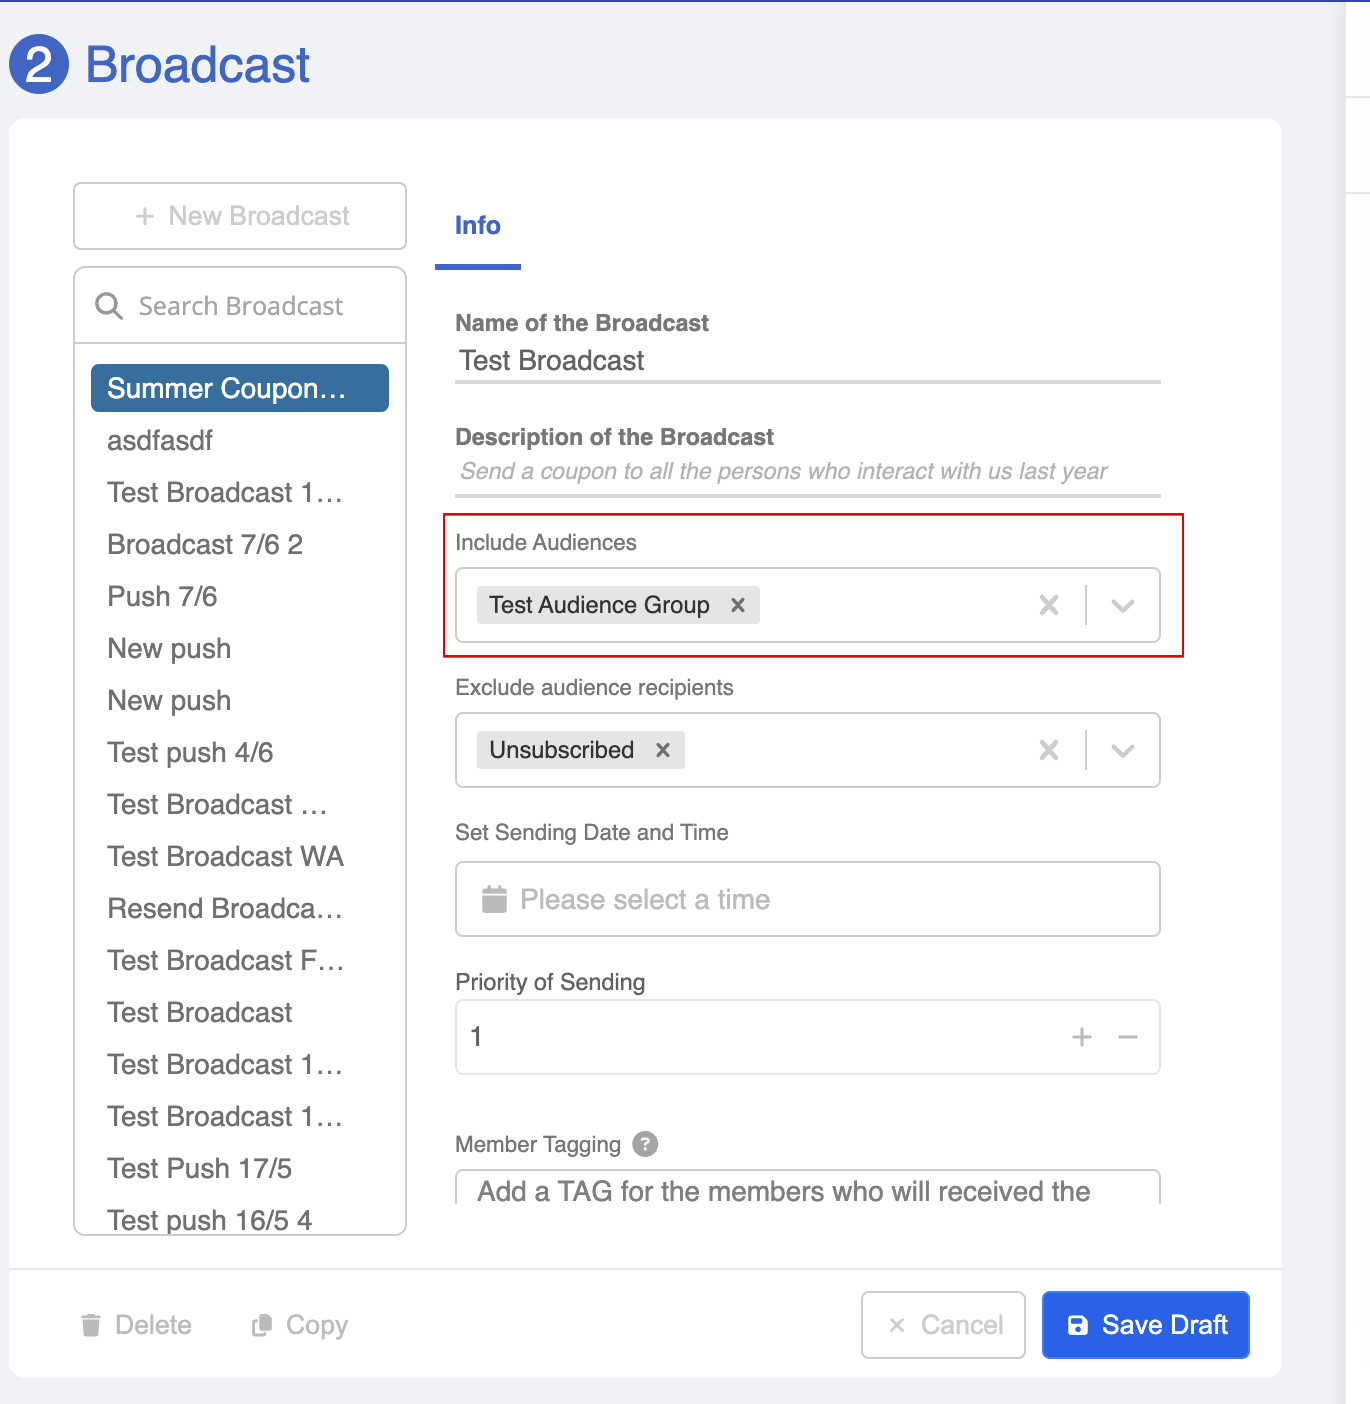
- Under "Include Audiences", select the audience group you have created. Besides, the "Exclude Audiences" will always consider the "Unsubscribed" audience list by default.
Note
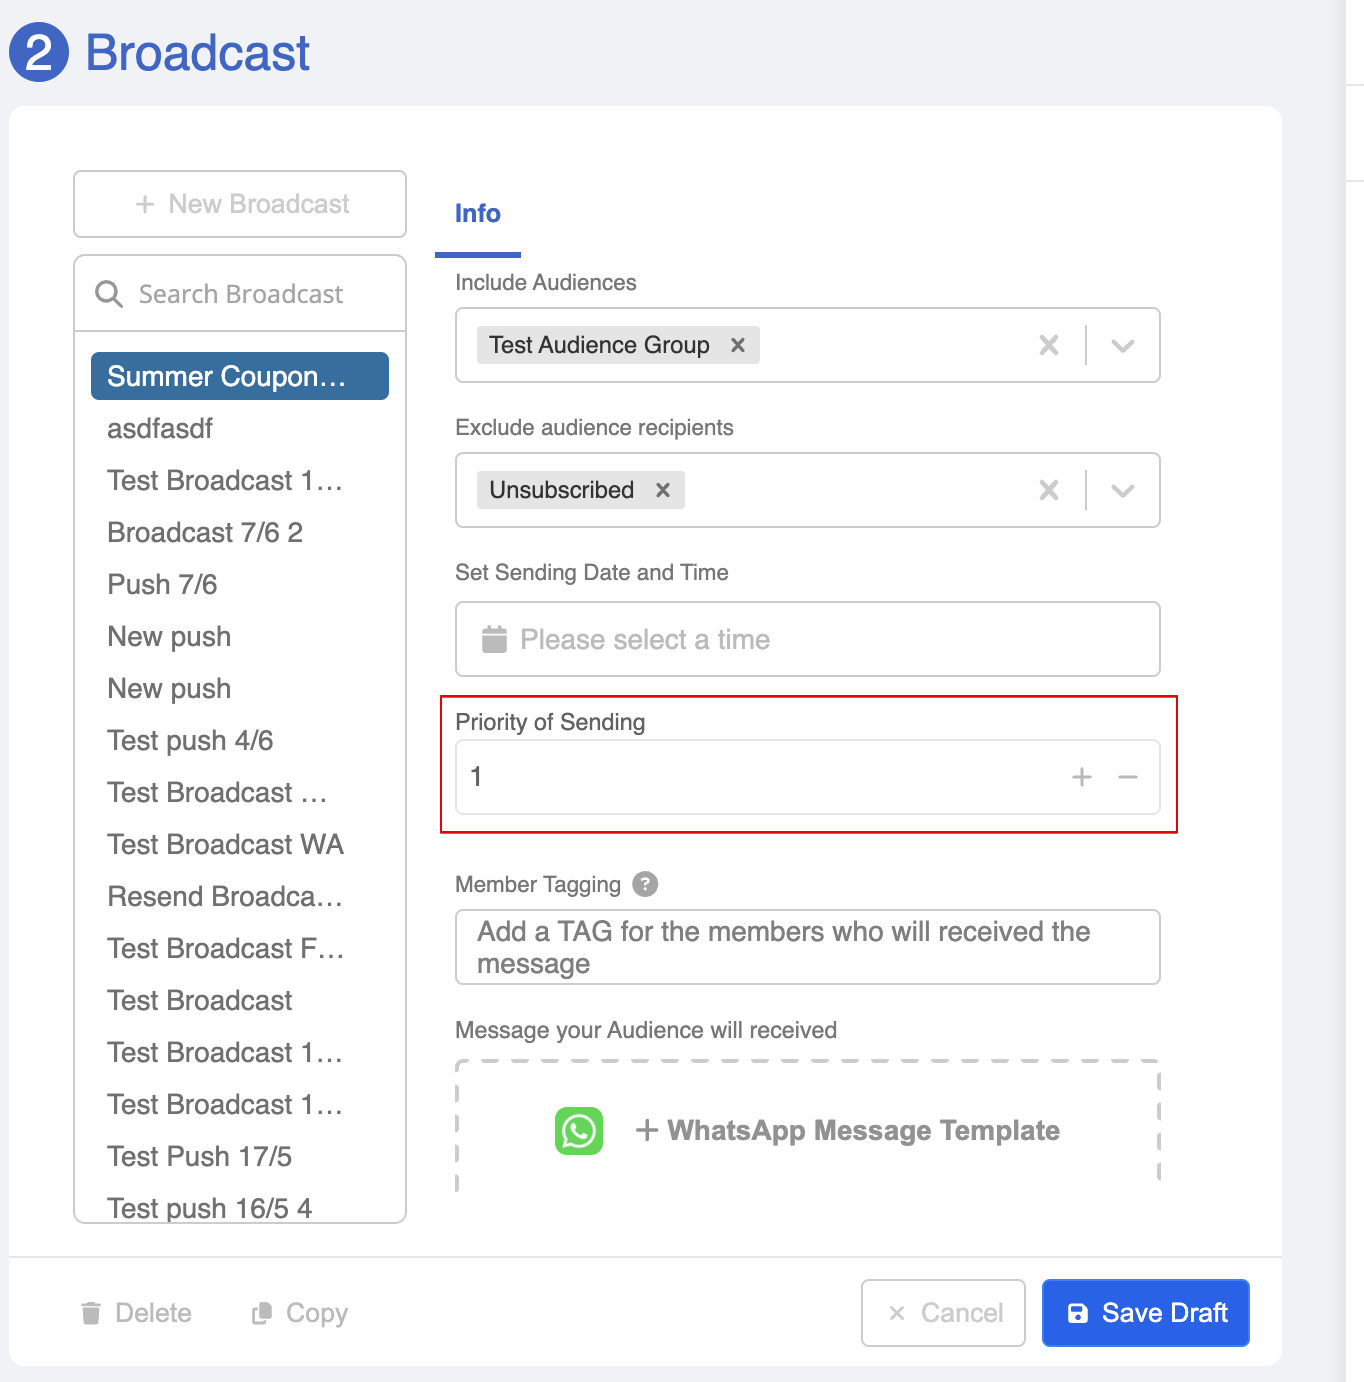
Broadcast Priority
- Priority is used when you have two or more broadcast messages on your sending list. The default value is 1.
NOTES
For example, if you are sending out broadcast A to your subscribers and would like to send an ad-hoc broadcast B to the subscribers because broadcast B is more important. In this case, you need to set a higher priority for broadcast B and it will interrupt the sending order and get broadcasted before broadcast A.
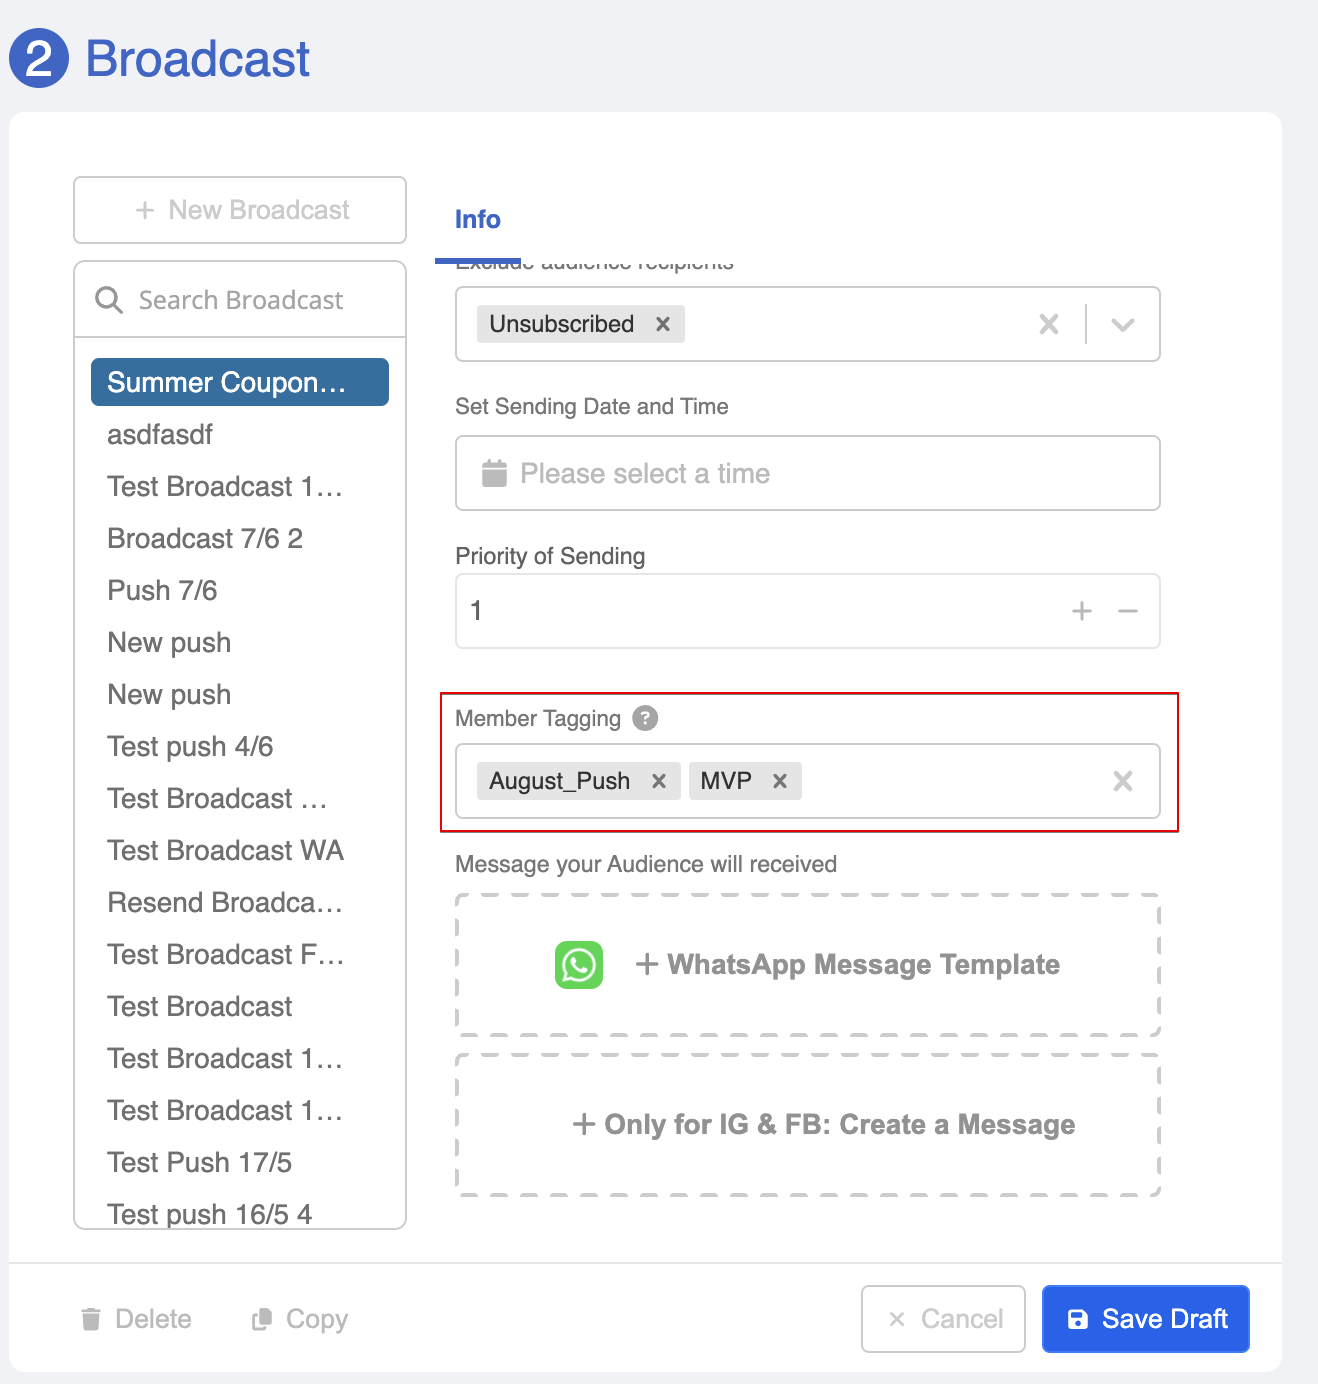
Member Tagging
- "Member Tagging" allows you to mark the audience with self-defined member tag, which is useful for future analysis.
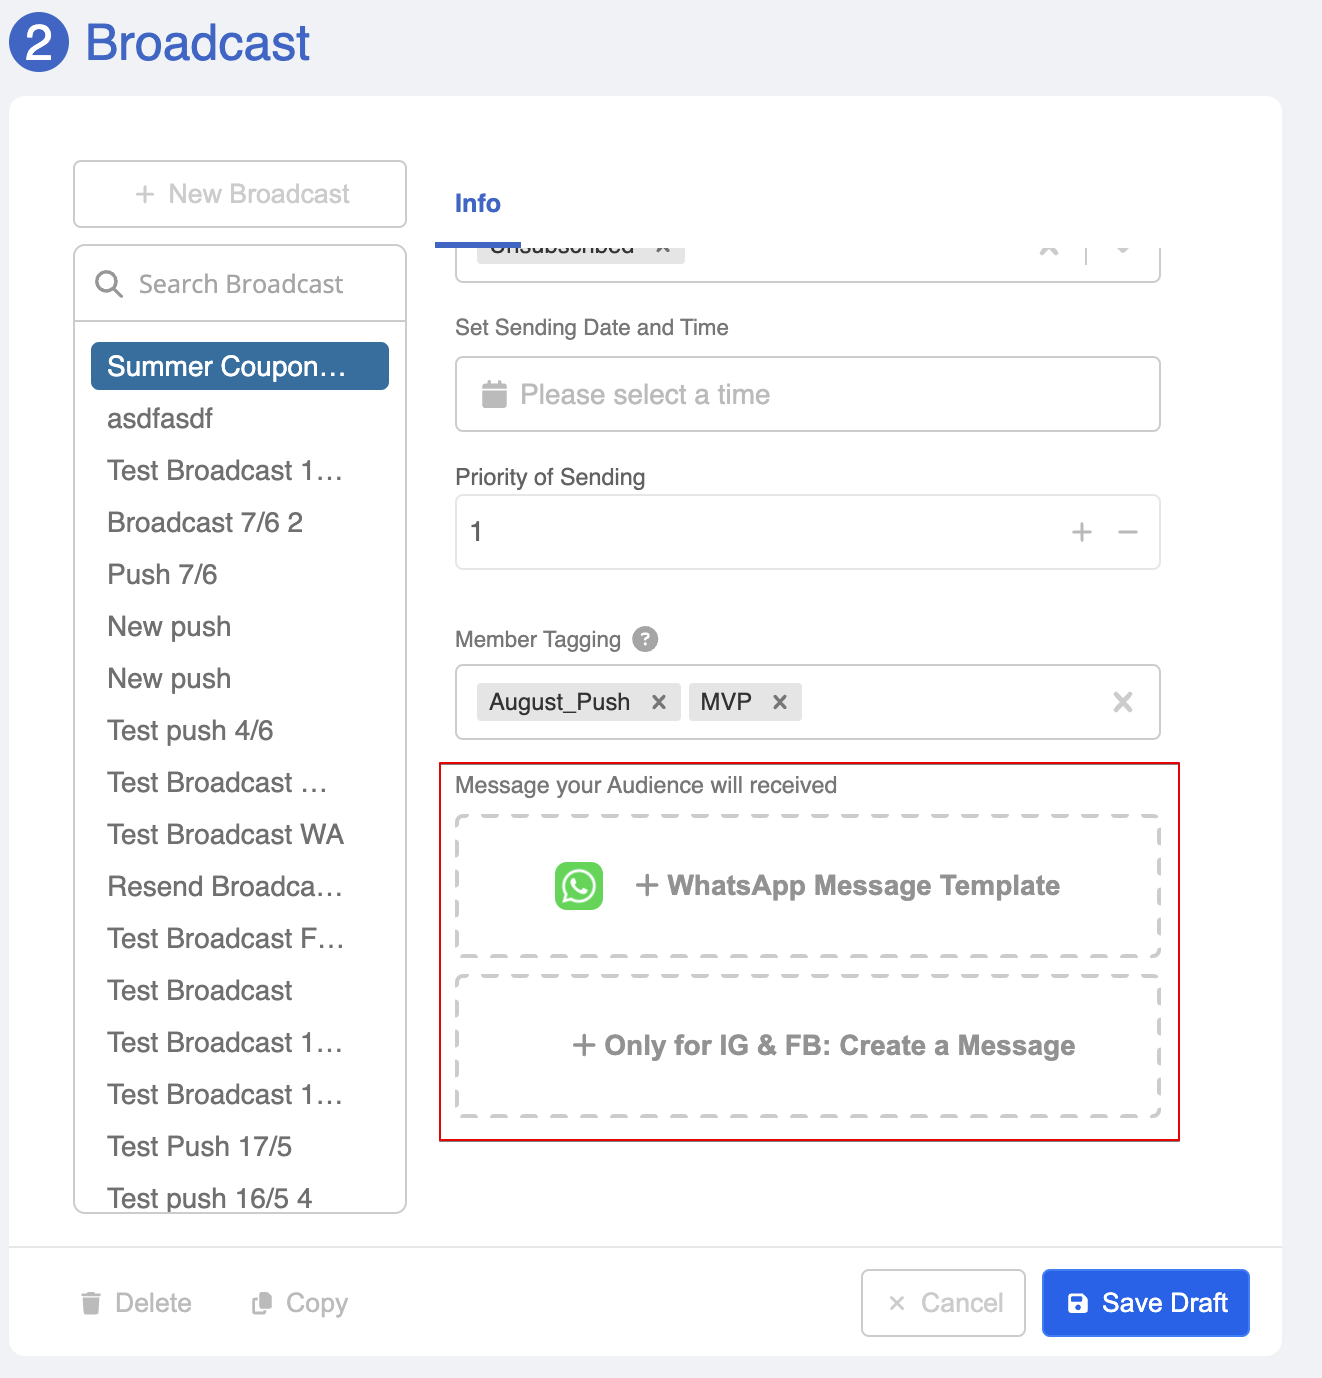
Broadcast Message
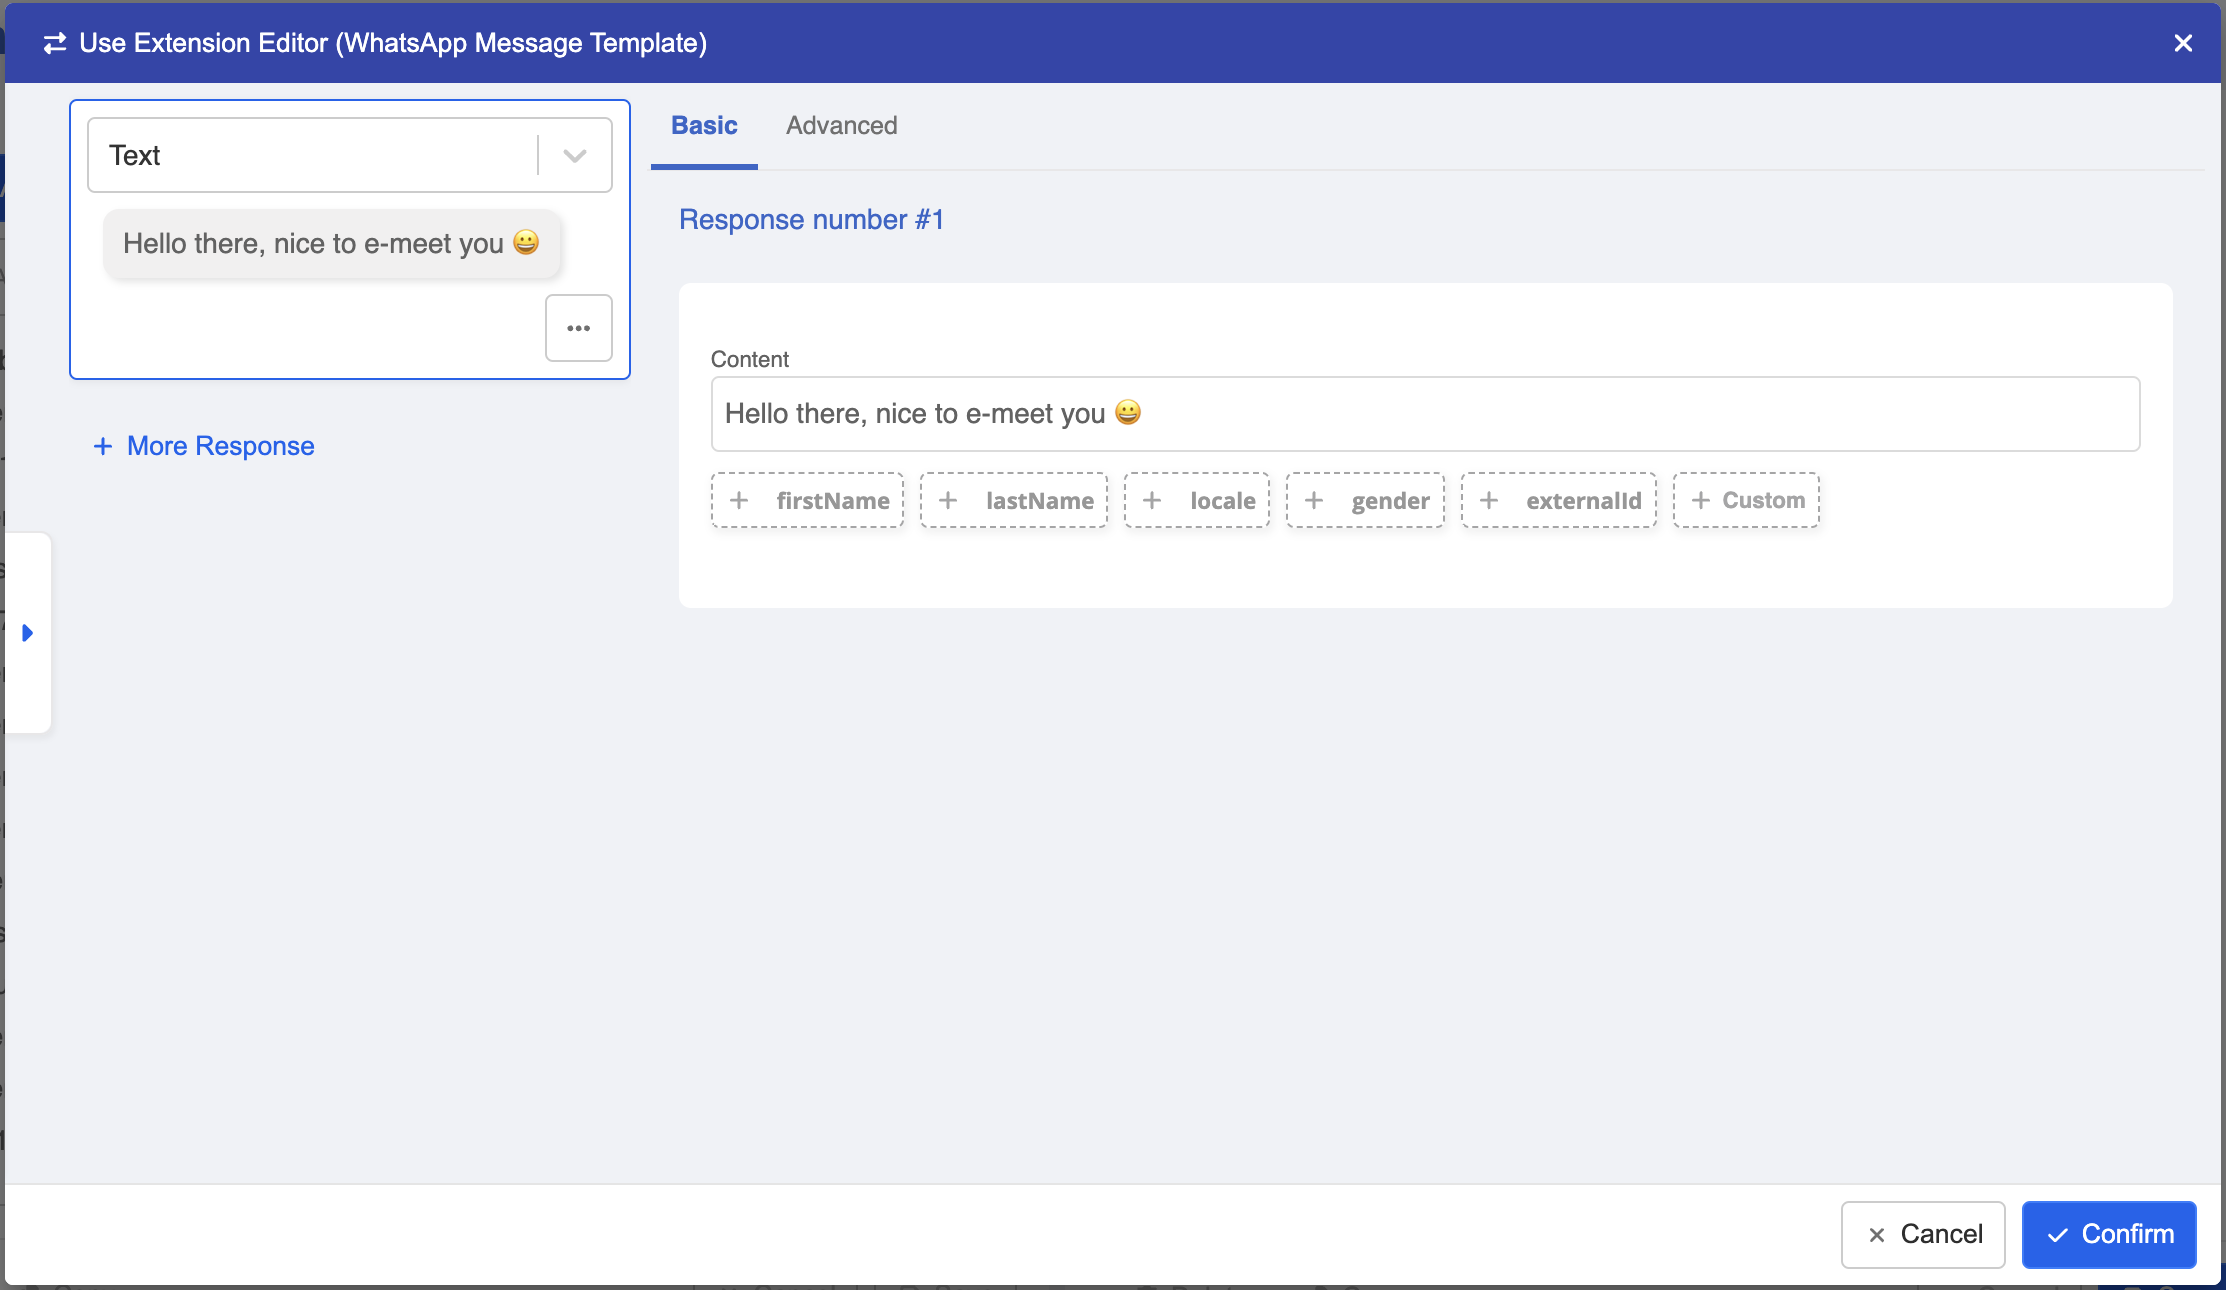
- Select either of the options under "Messages" and start formulating your broadcast message.
NOTE
The "+ WhatsApp Message Template" option is only available when the selected audience group is associated with a WhatsApp channel. Please refer to here for details.
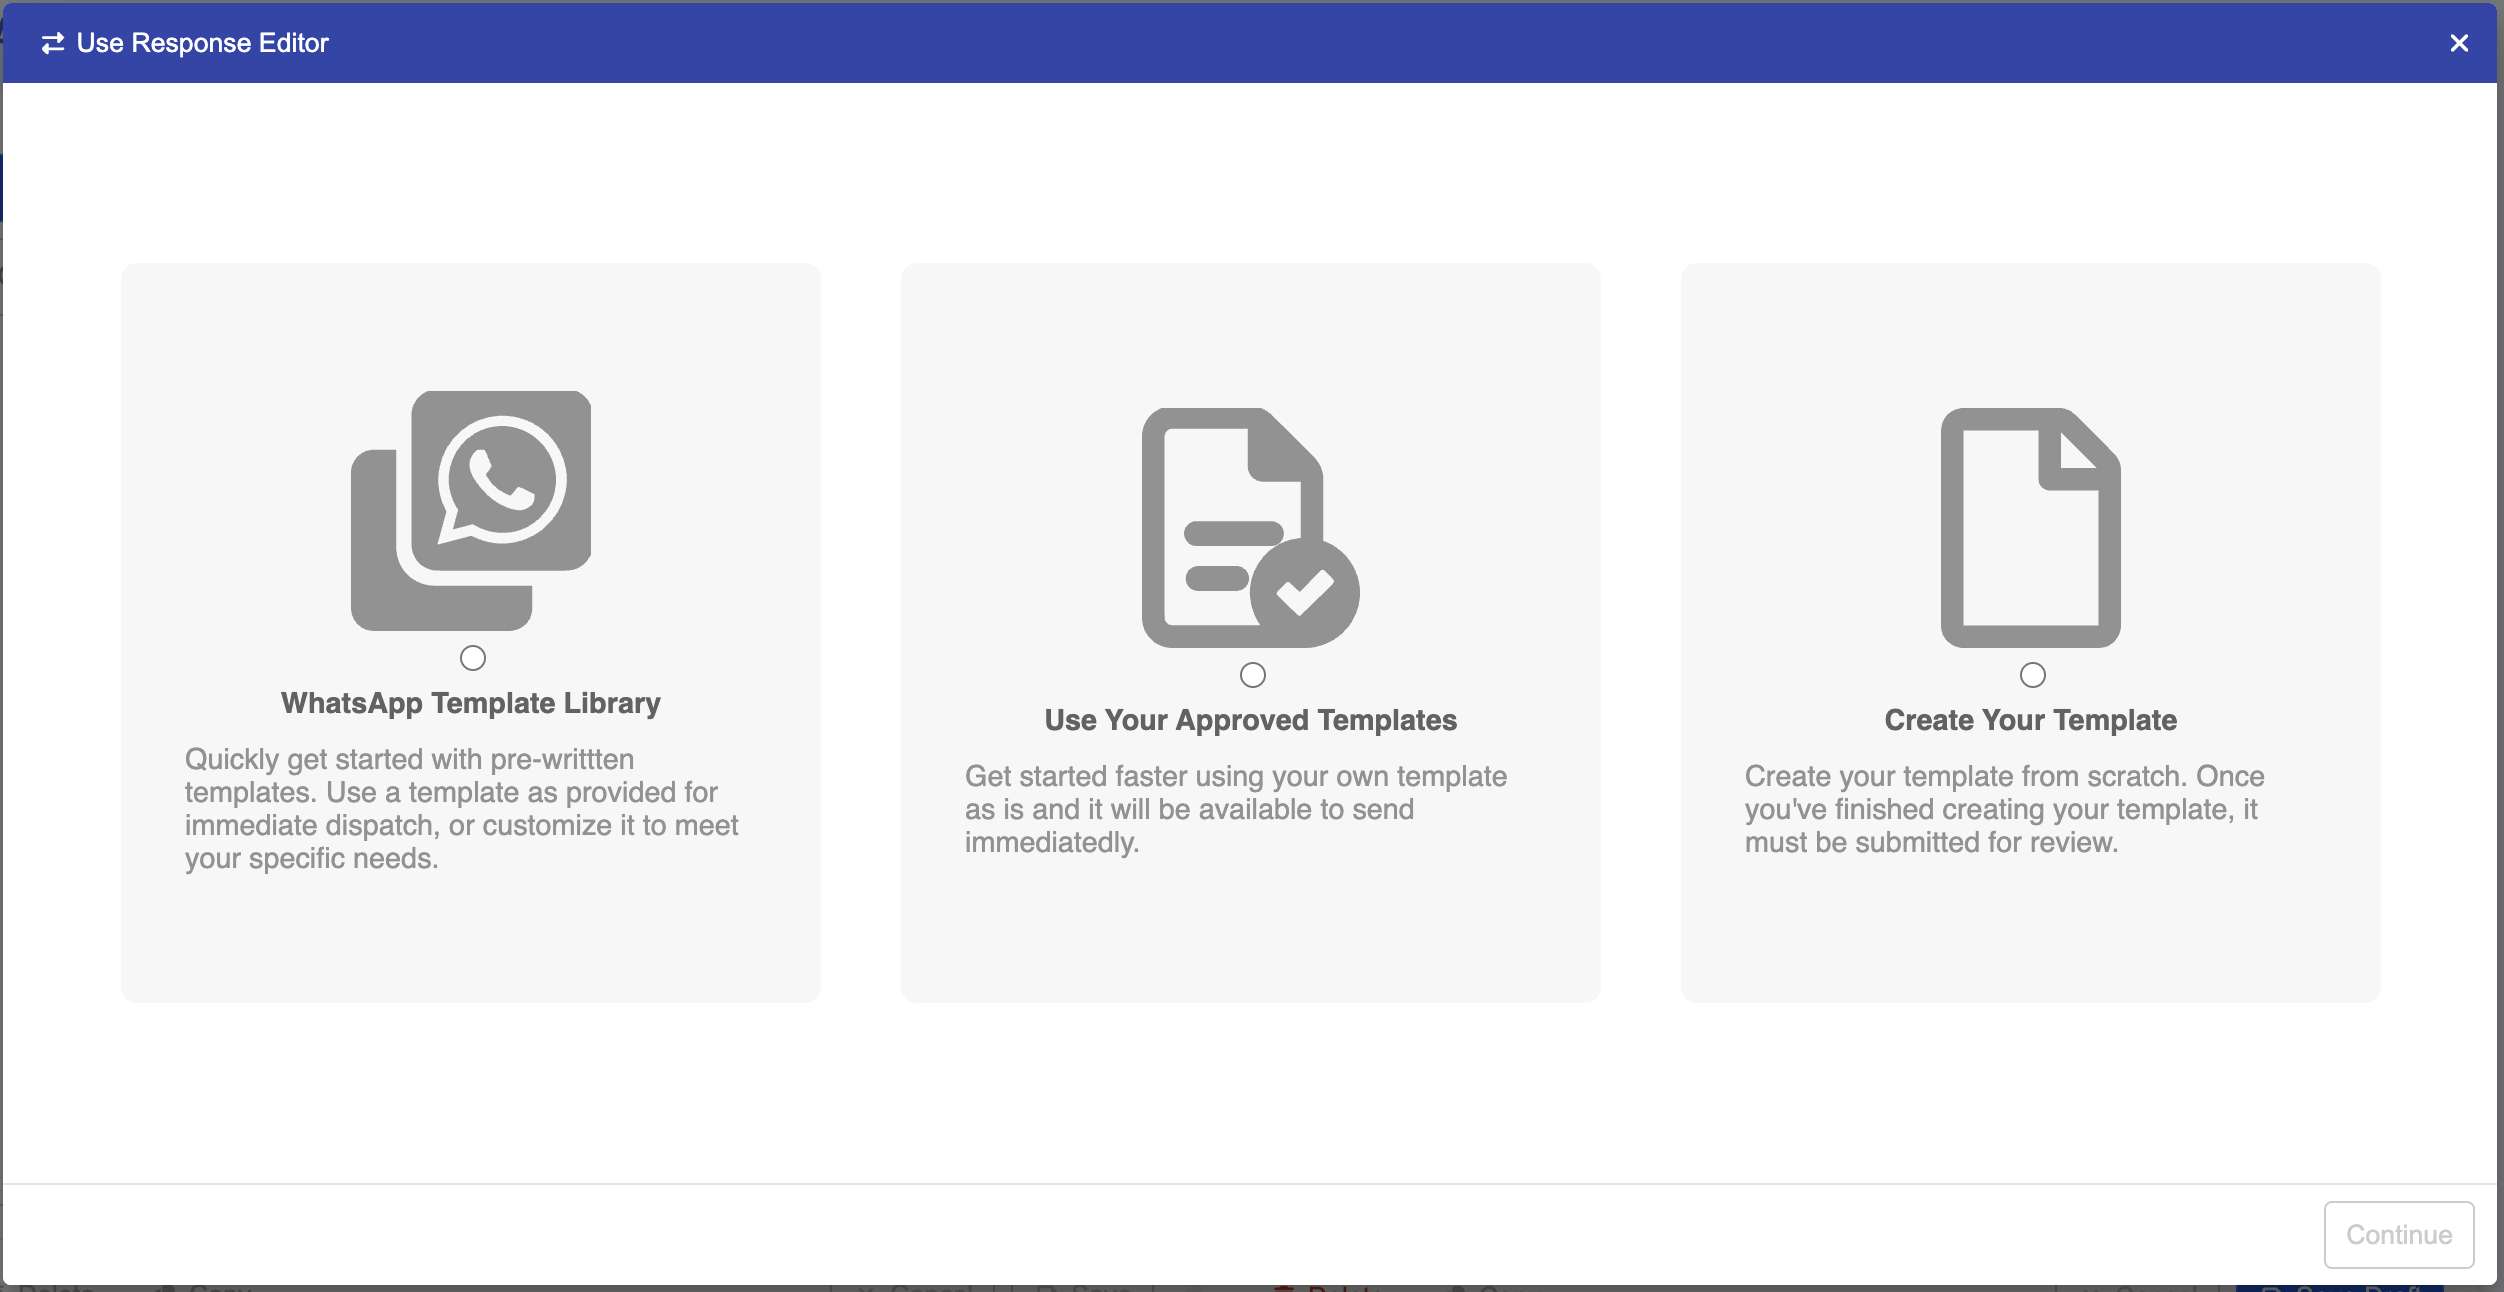
- If you are proceeding with "+ WhatsApp Message Template", you will be redirected to the WhatsApp template flow.
NOTE
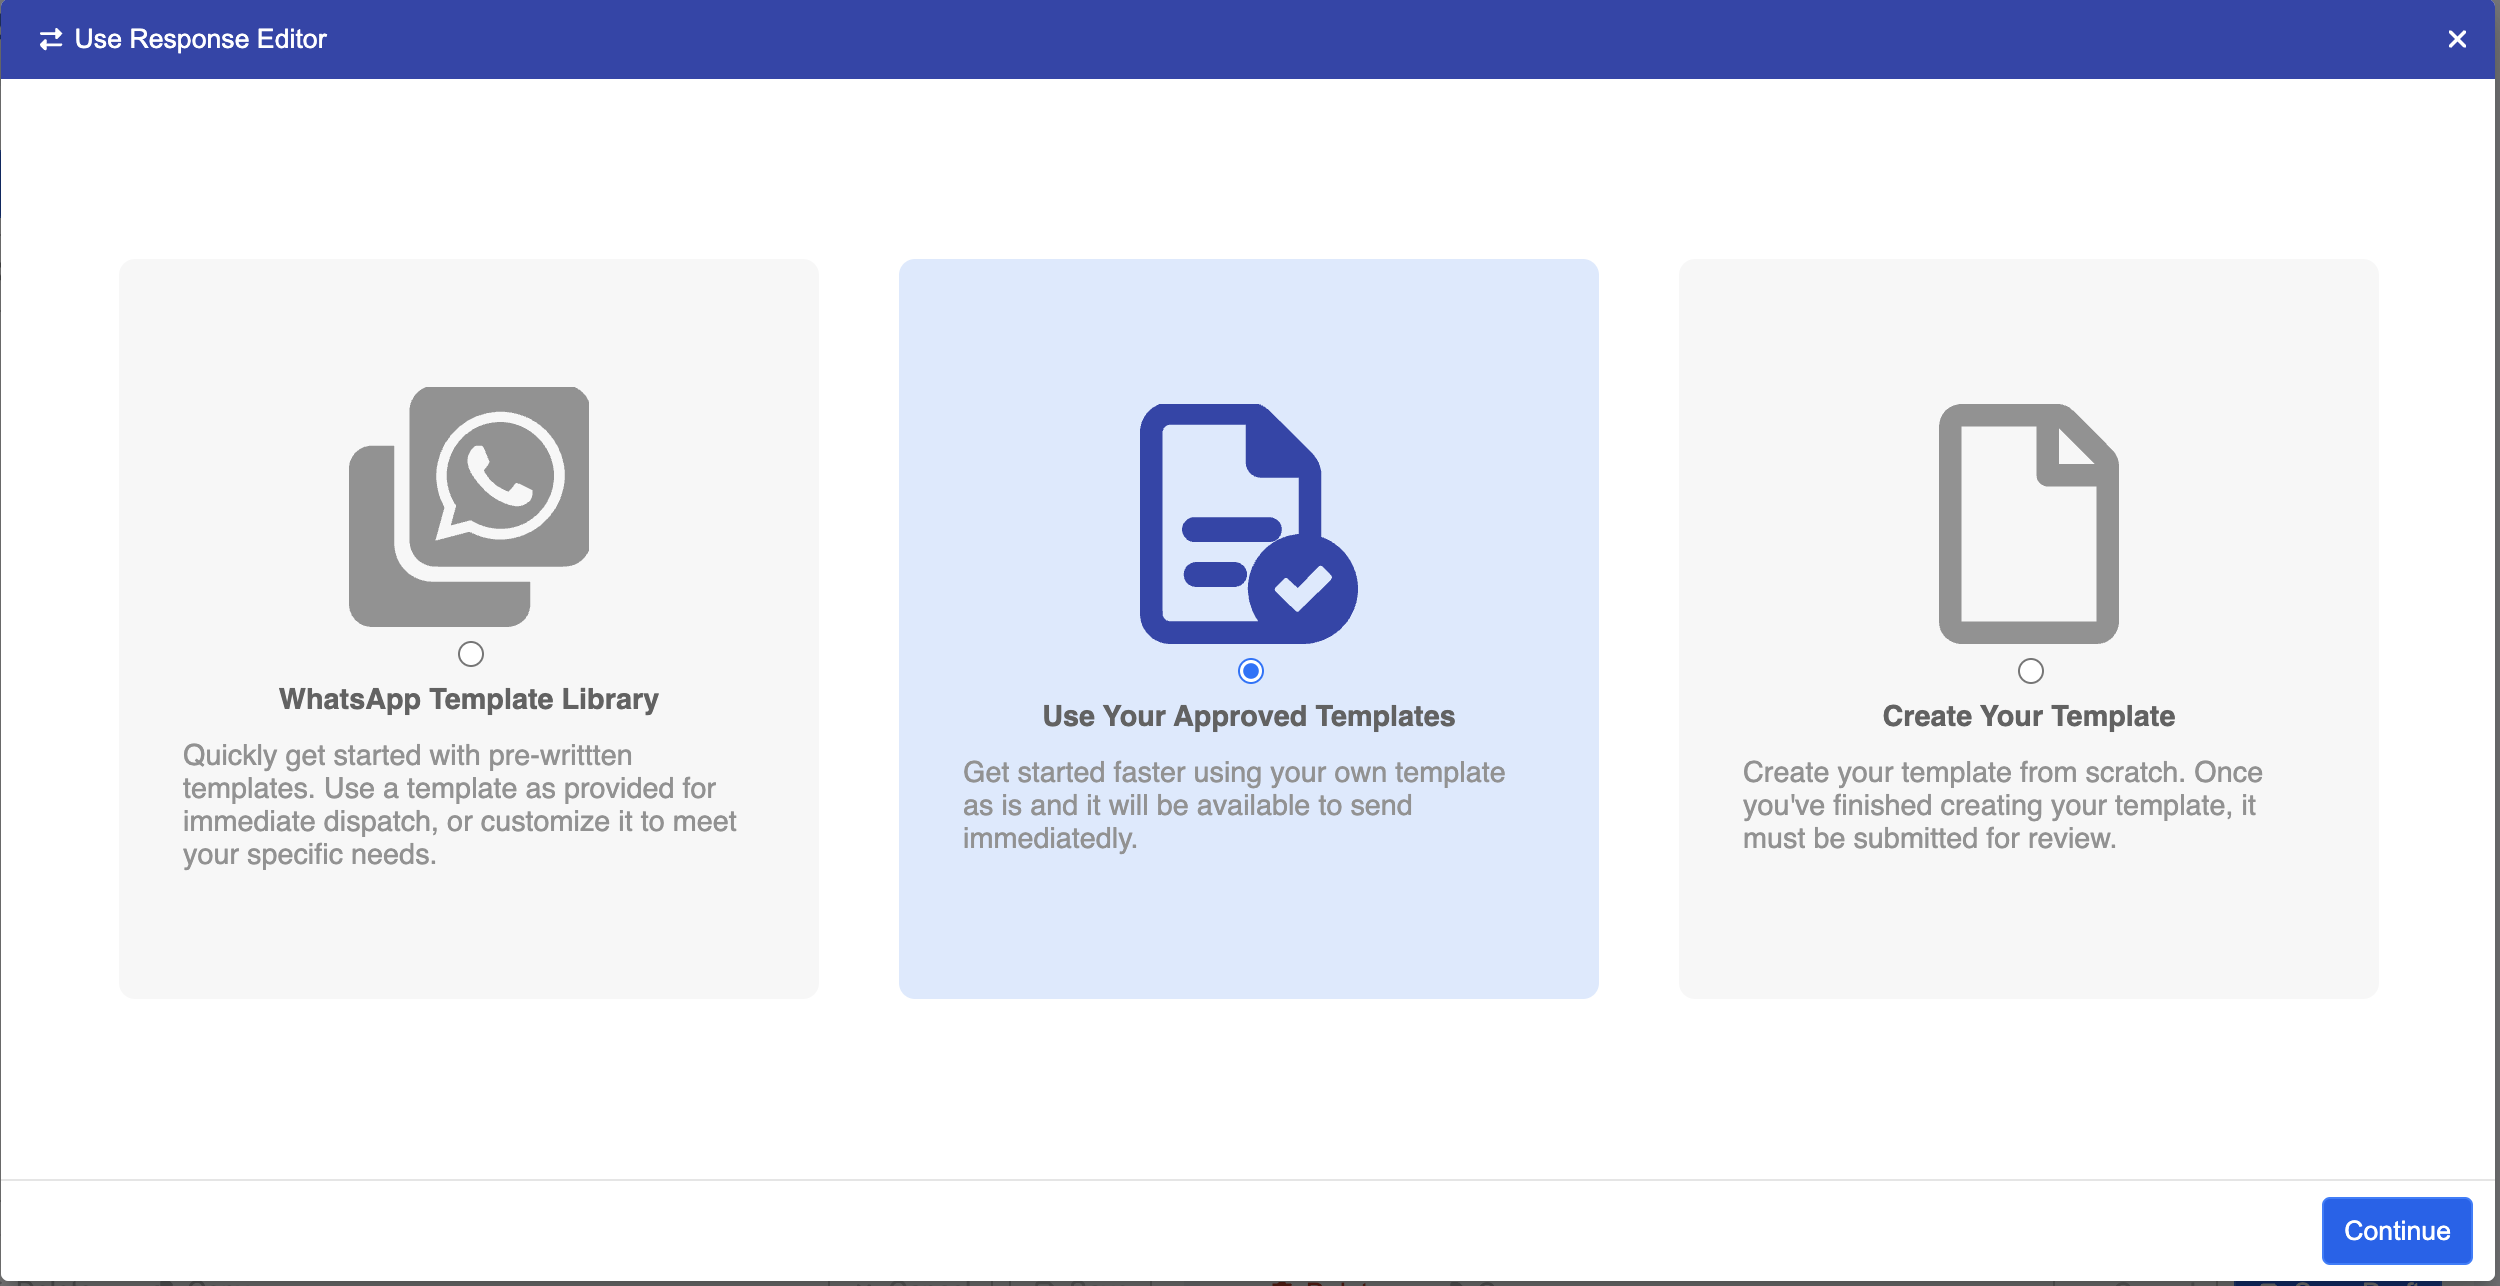
- In this demo, let's go with the "Use Your Approved Templates".
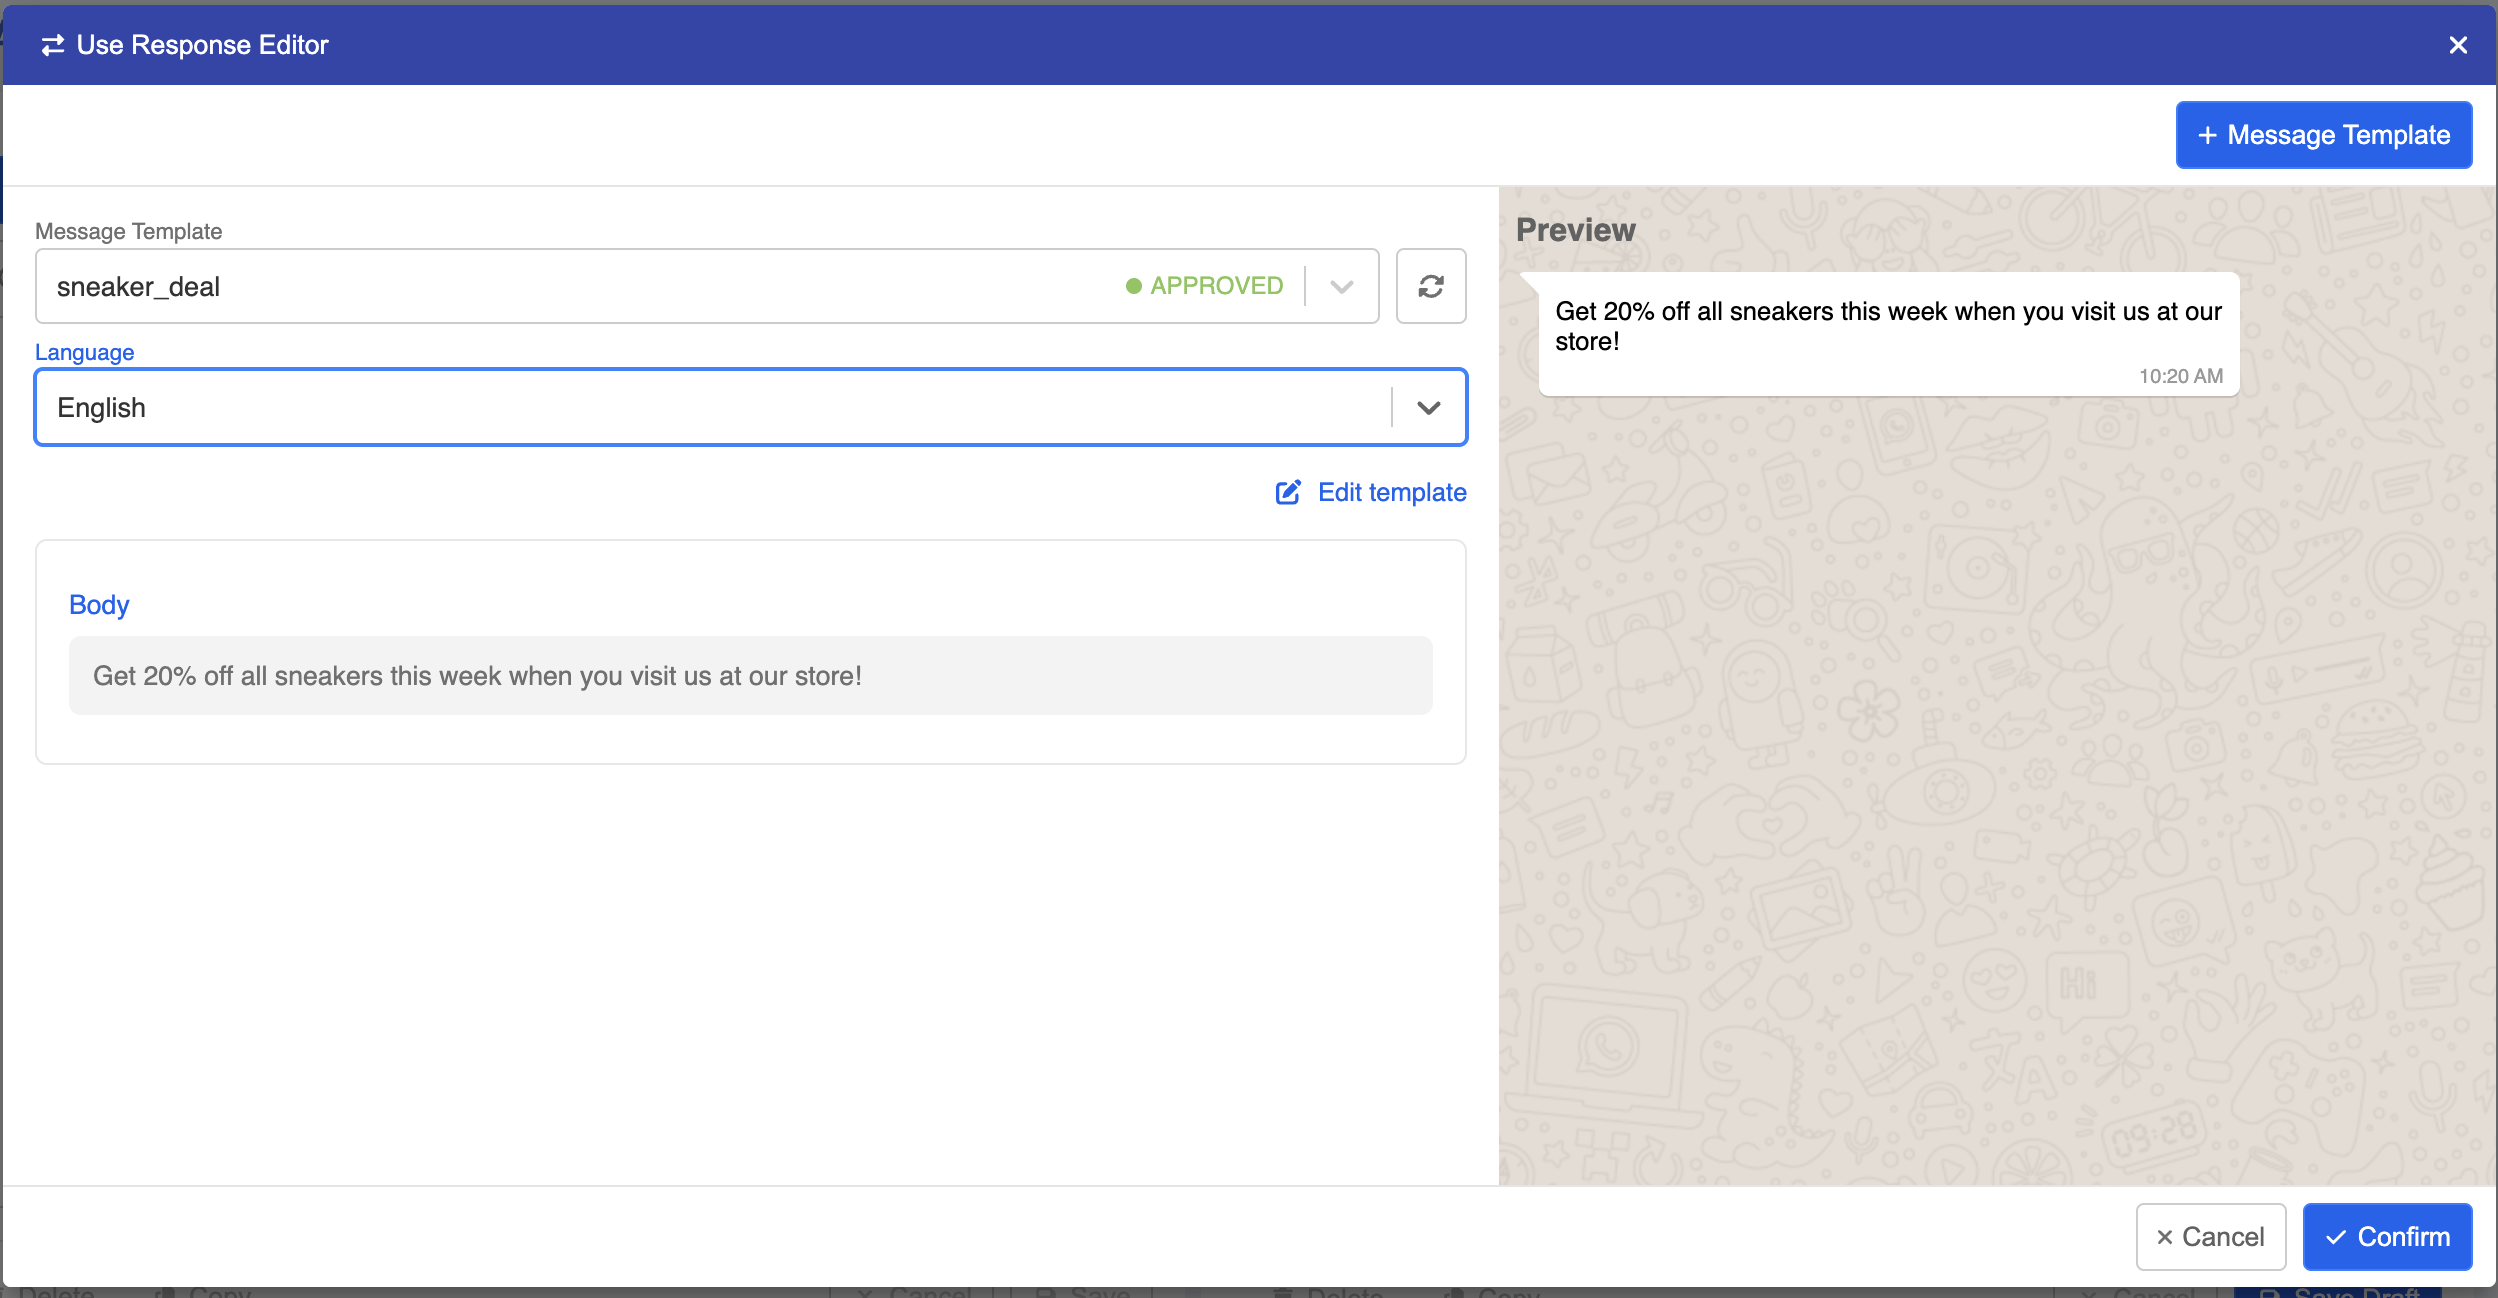
- You will be led to this modal and configure the WhatsApp message template.
- Now you can see the preview of the broadcast message.
- Different broadcast policies are applied to different messaging platform. Please refer to the following guidelines for Facebook and WhatsApp Cloud integration.
Schedule Start Time
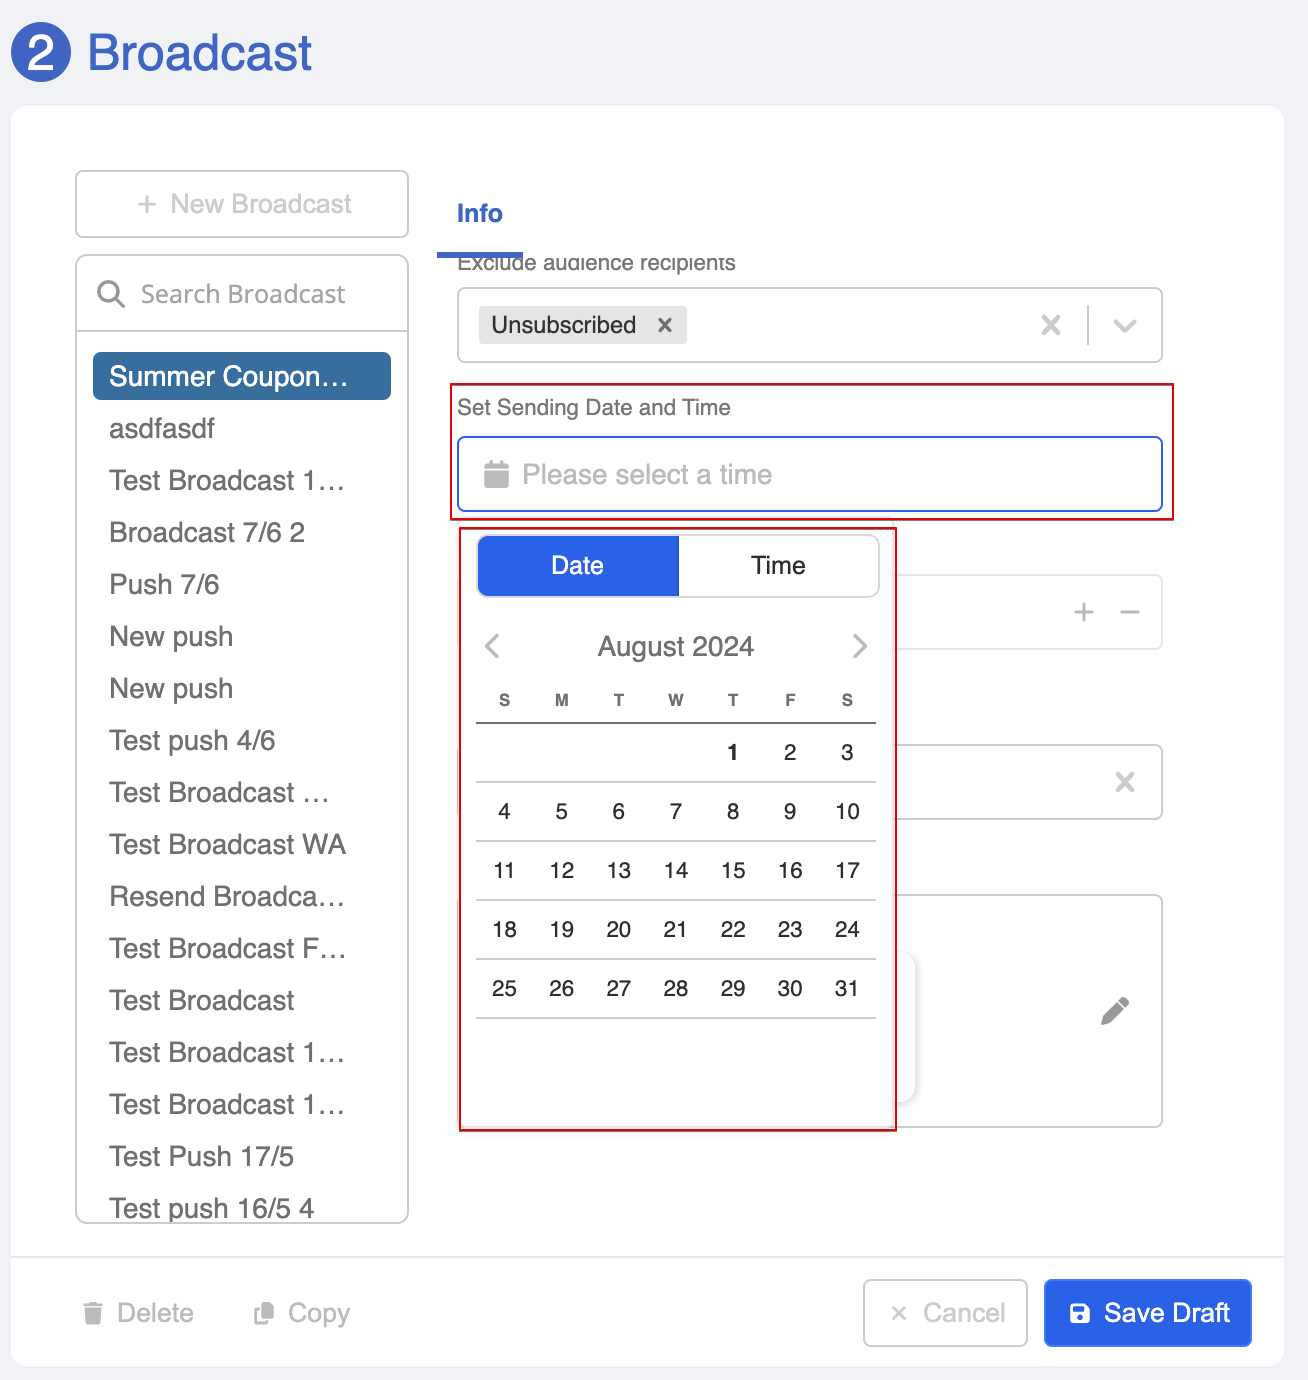
- Every broadcast message has to have a start time so that our system will start blasting out the message for you. You can specify the start time precisely to a minute.
s NOTES
The convention of time is GMT +8 offset (i.e. Hong Kong Time) under 24-hour clock system.
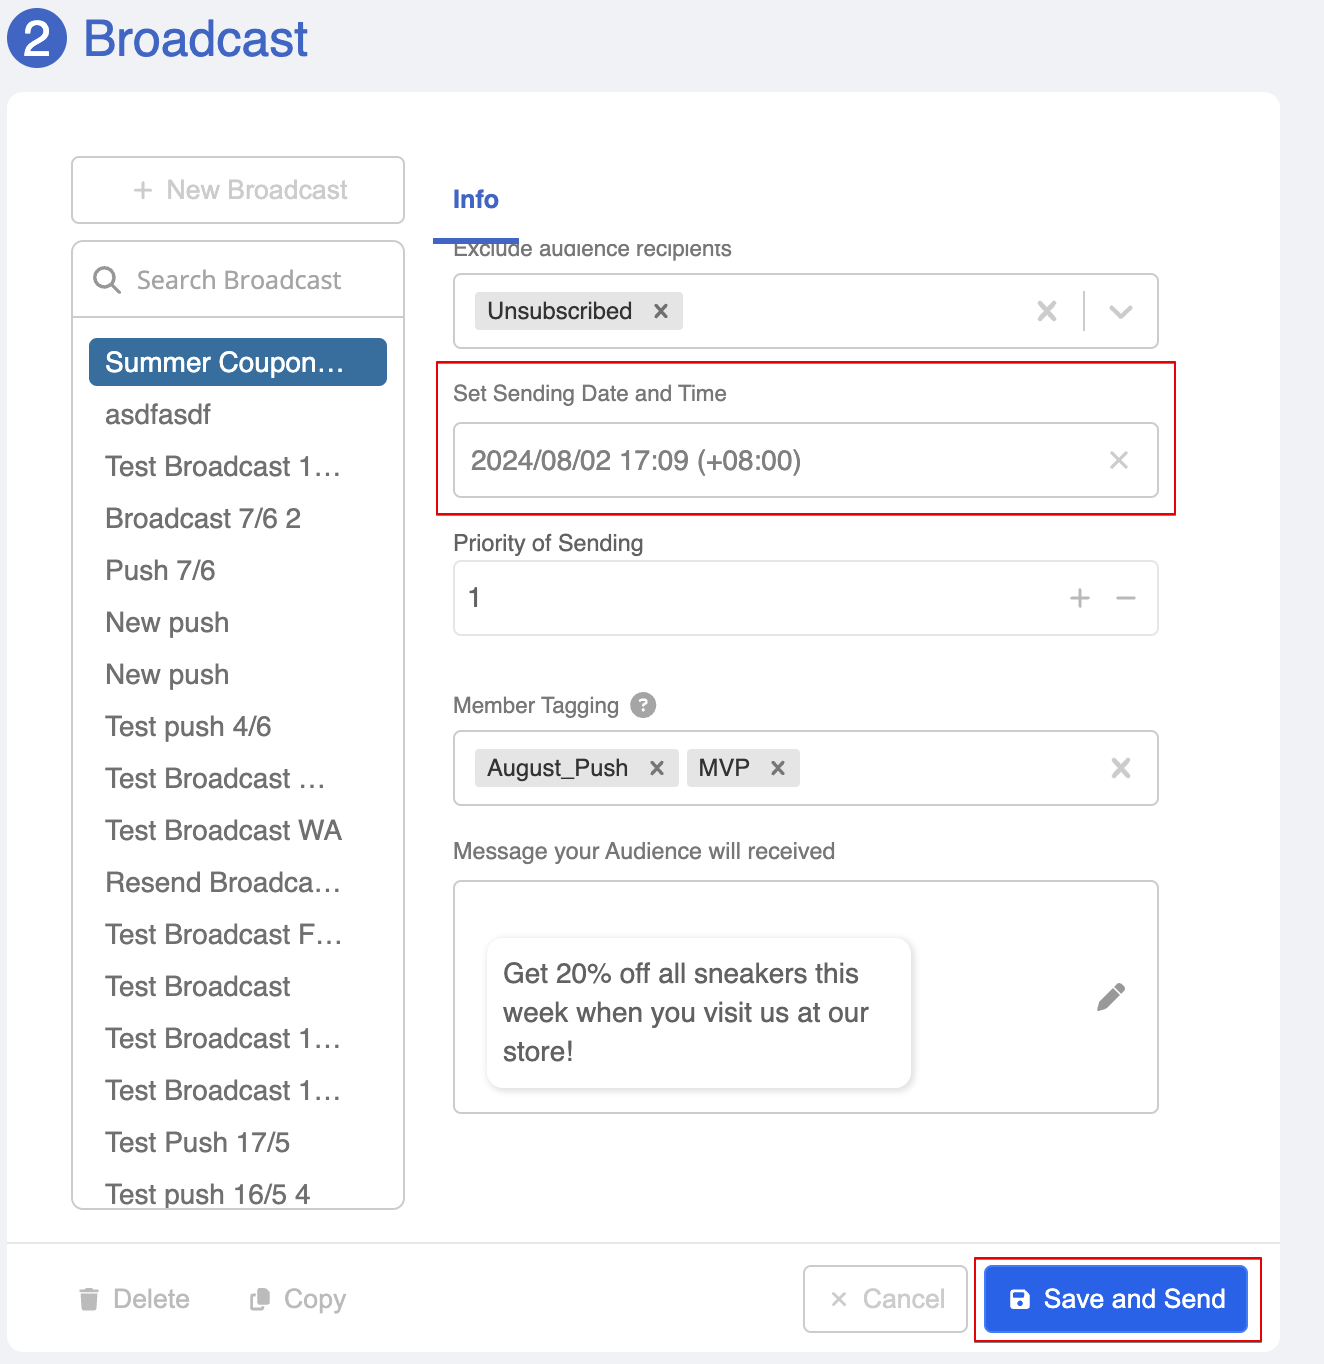
Without the scheduled time, you can only save your broadcast as "Draft". Once the date and time have been assigned, you can proceed by clicking "Save and Send".
Sending Broadcast
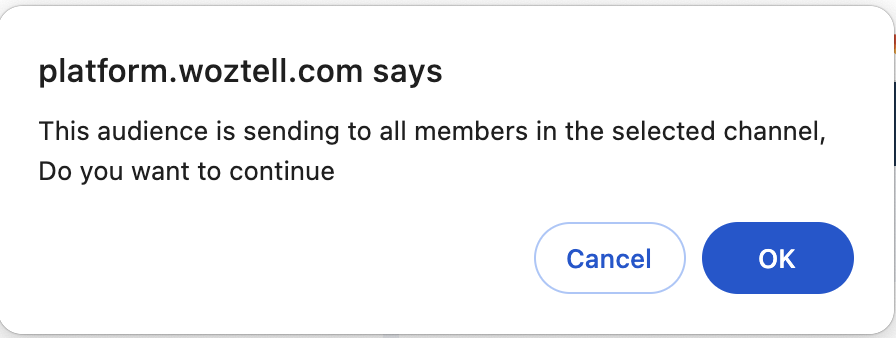
Once you clicked the "Save and Send" button at the bottom right, the broadcast content will be scheduled/sent. So please be sure that you have filled in all the necessary details before clicking the final button!
You may also refer to the analytics section for the broadcast result.
Retry Audience Group Creator
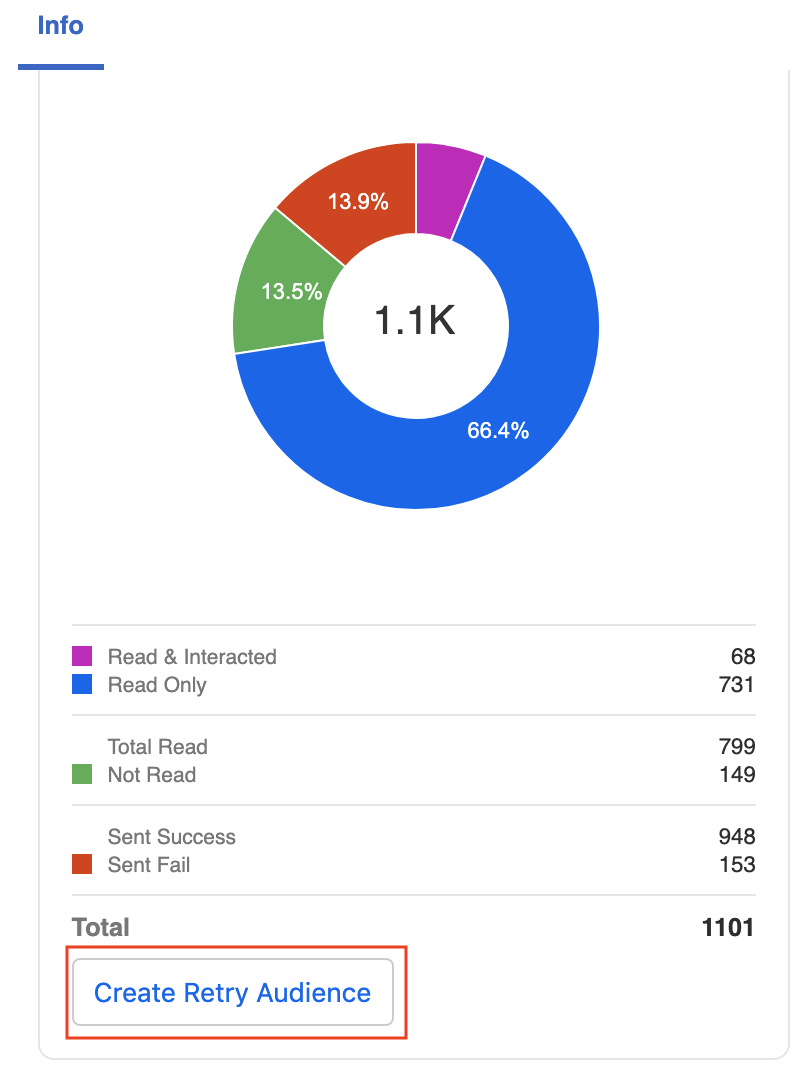
After your broadcast has completed and if there're some failure cases, a button called "Create Retry Audience" will be created automatically at the bottom of the broadcast result.
This is the Retry Audience Group Creator. This button will automatically generate a new audience group for those users who have failed to receive that specific broadcast message.
Click the "Create Retry Audience" button to create a new audience group for the failure cases.
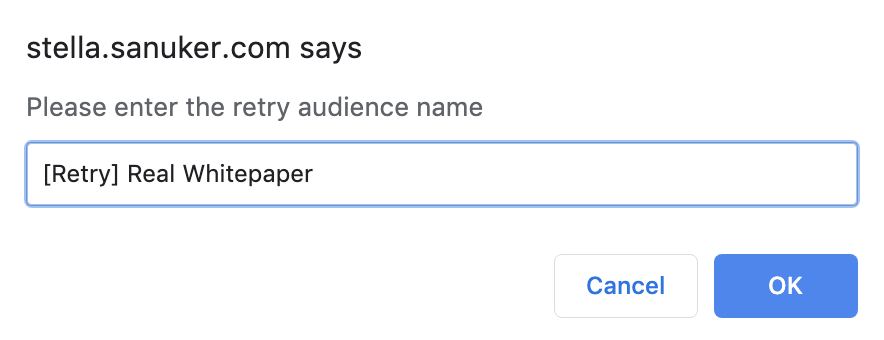
Name the retry audience group and click "OK" to save.
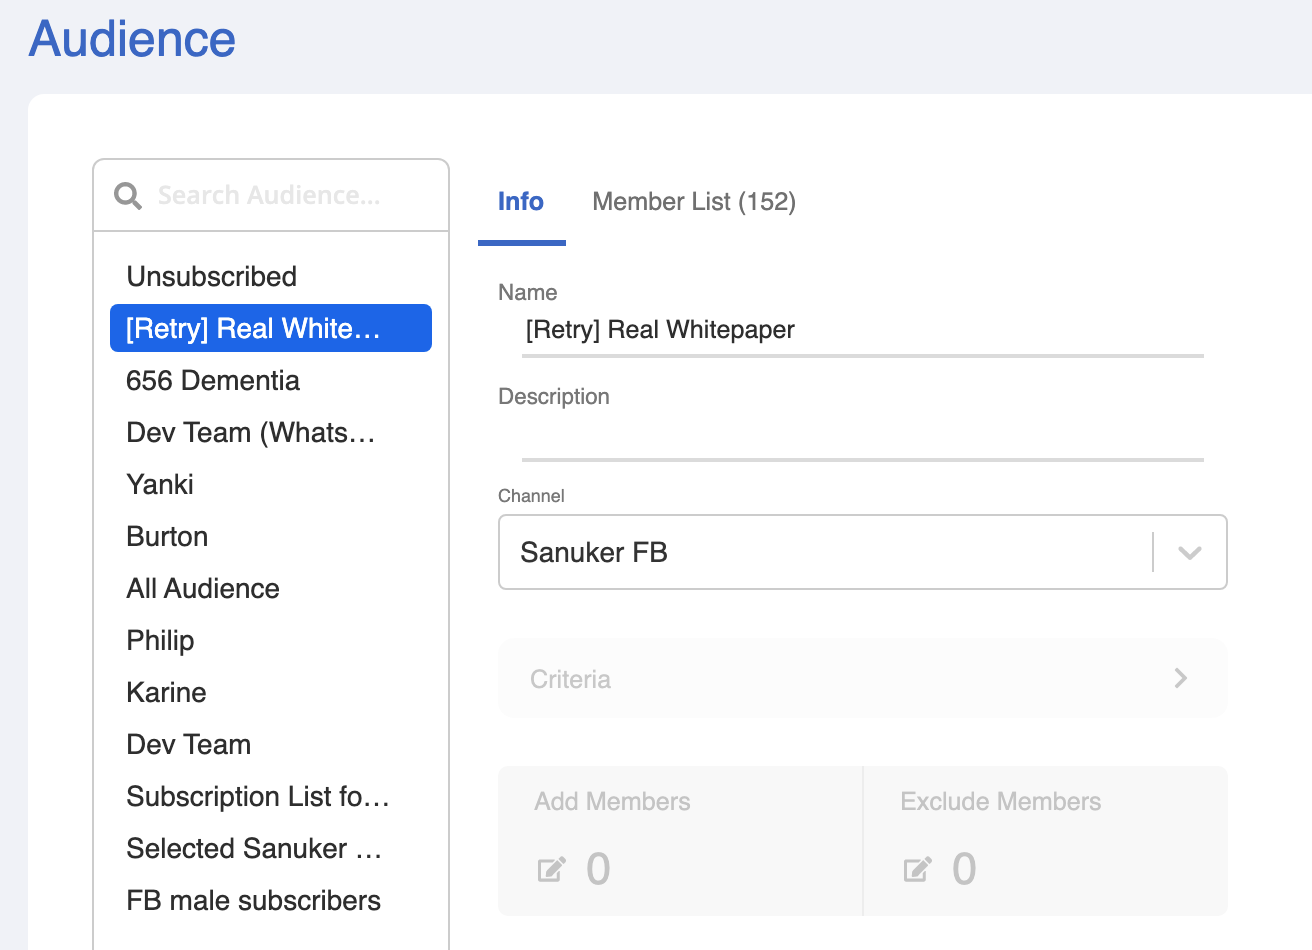
- You can now find the newly created retry group in the audience group list.
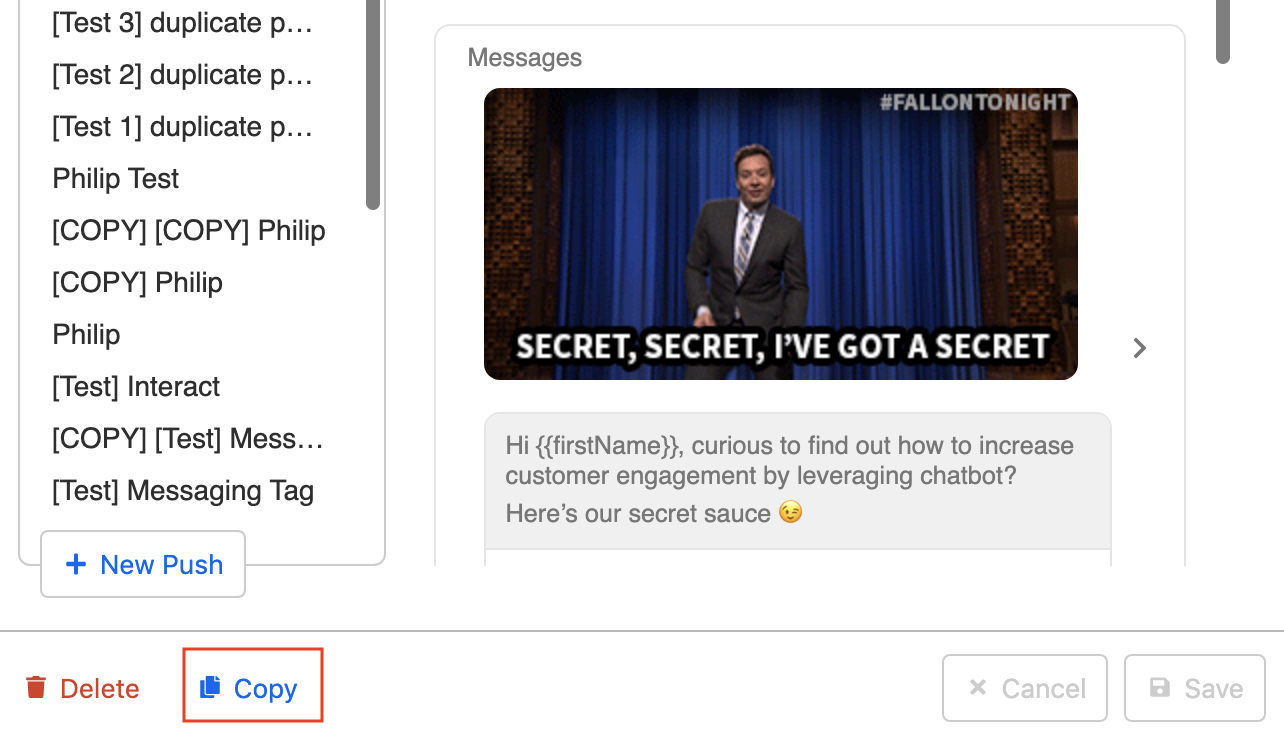
- Now go back to the broadcast content and click the "Copy" button under the selected broadcast to create a new broadcast draft with the same content.
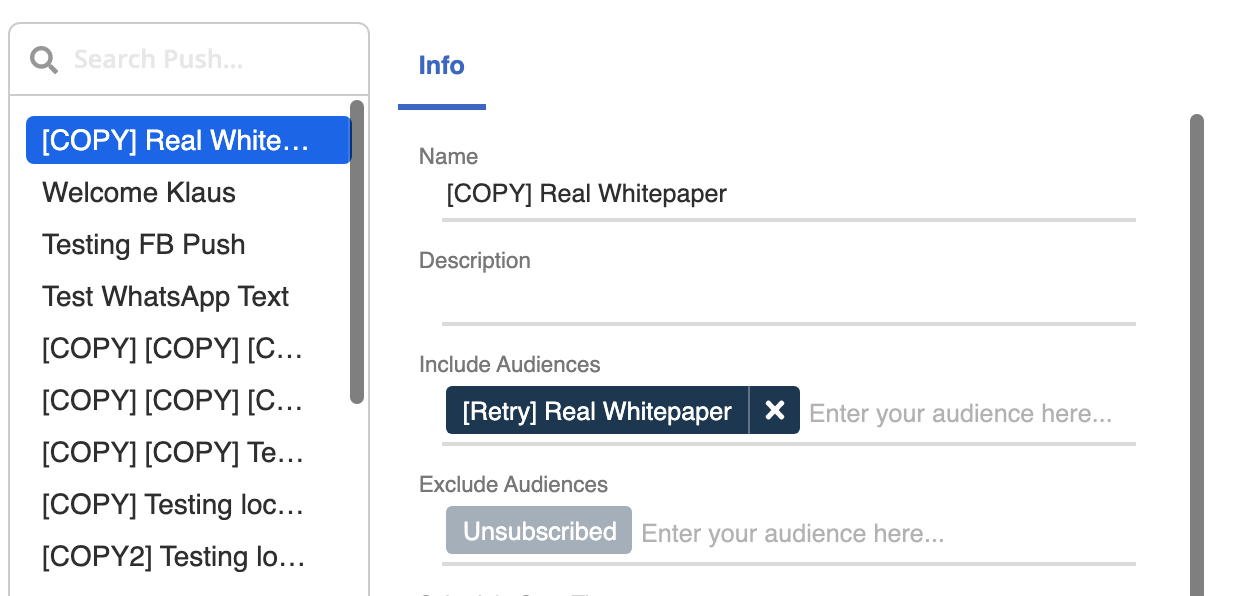
- The broadcast content is now duplicated. You may find it in the top of your broadcast content list. Include the new retry audience group and schedule the start time again to resend the broadcast message. Click "Save" and wait for it.
s NOTE
You can create retry audience group as many times as you want as long as there are failure cases in that broadcast. If all messages are delivered safe and sound, then the Retry Audience Group Creator will not be displayed.
